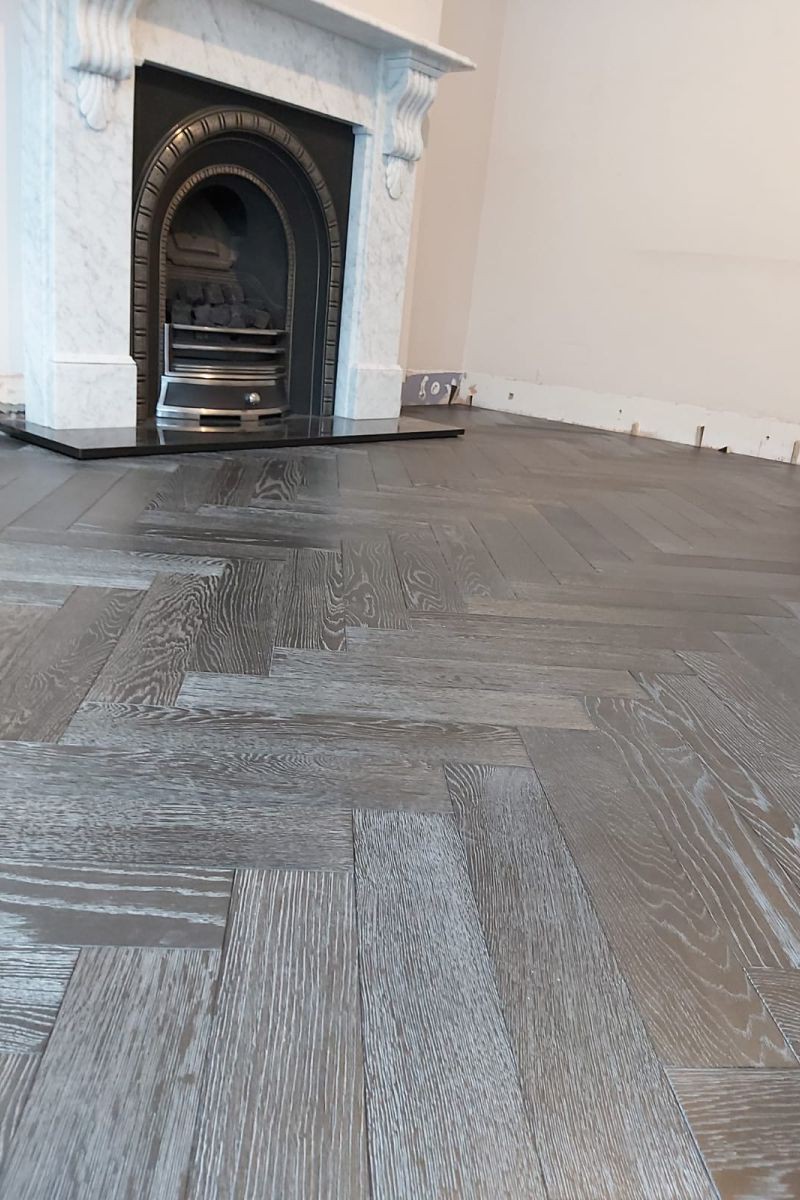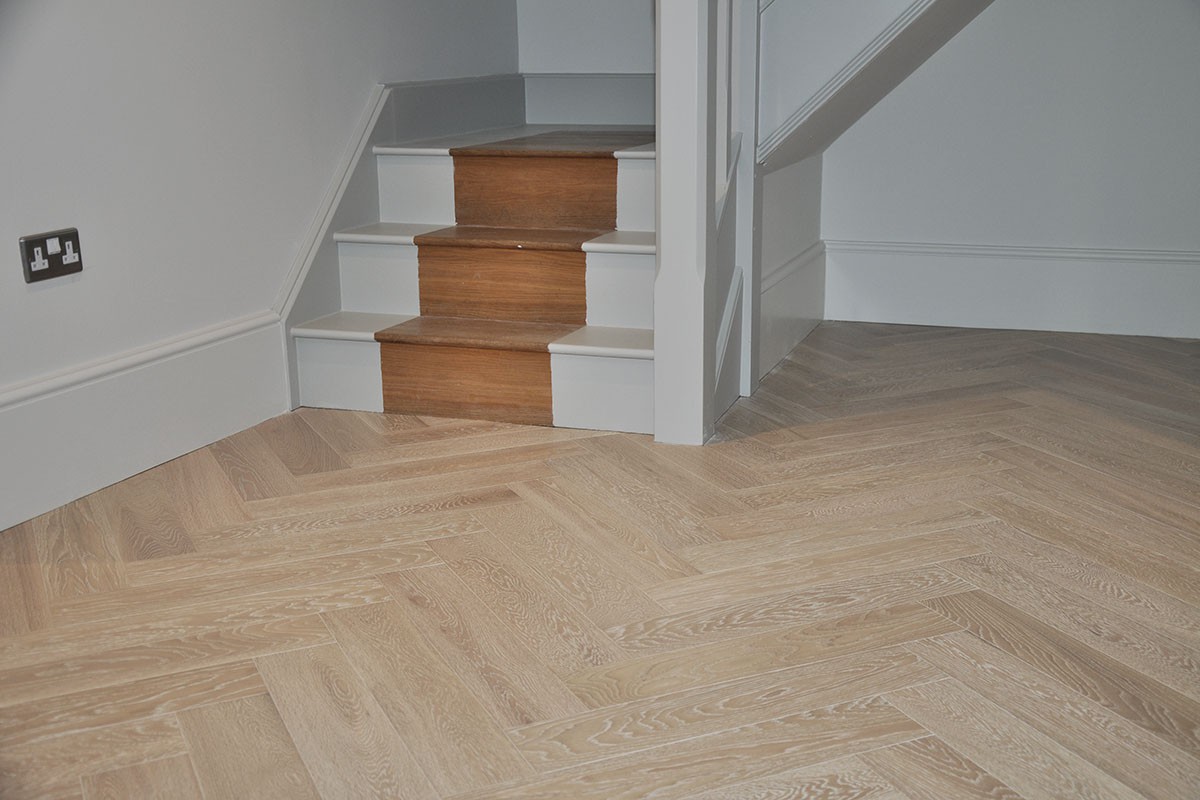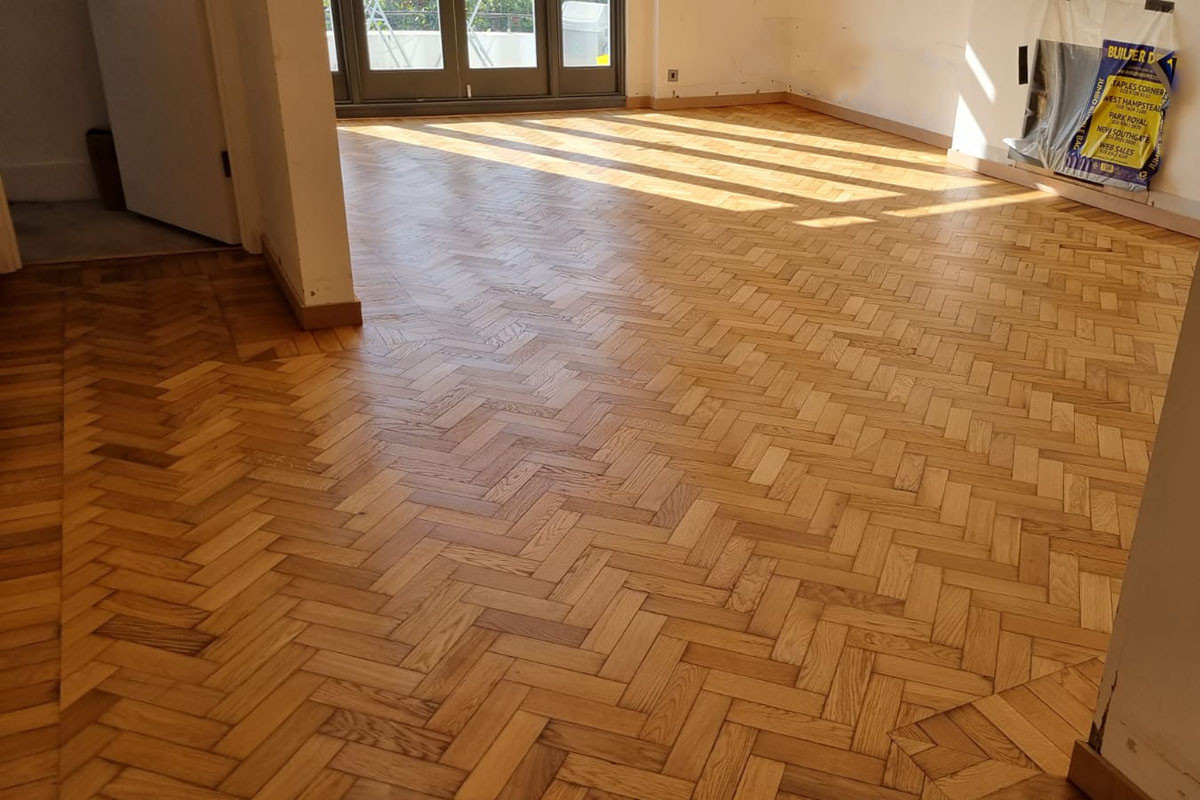

Fitting Engineered Herringbone – Complete Guide
 If you are planning to fit engineered herringbone parquet yourself, there are few very important things that you need to pay particular attention to. It is important to understand that fitting engineered herringbone is professional task and needs to be carried with attention to details.
Before you start with the installation of the flooring you have to think about preparation of the sub-floor. For successful fitting of engineered herringbone, you need stable and levelled base. Unlike the engineered planks, the recommended installation method of engineered herringbone is gluing down on to the sub-floor. In order to do this, first you would need to prepare your base.
Sub-floor Preparation for fitting engineered herringbone
Concrete sub-floor
Where you have an old concrete sub floor, you have to make sure that it is clean of any adhesive or bitumen residue. If 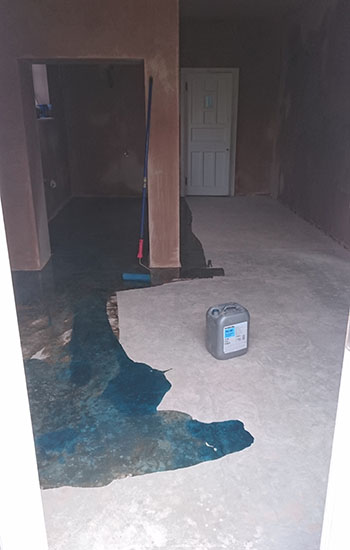 further leveling is required, it can be levelled with self leveling compound.
Make sure that the moisture content in the base is with in the allowed tolerance of maximum of 35% R.H (2.05% EMC). If the moisture content is above the recommended levels, or if there is any doubt, we recommend application of a Liquid Damp Proof Membrane to provide a barrier against excess moisture. This membrane will also improve the bond with the base and the new engineered herringbone.
When the sub-floor is newly laid screed, checking the moisture content is of particular importance. Standard basic screed could take months to dry sufficiently, so you can lay the new herringbone parquet on top. However, there are some more advanced screeds, which contains accelerator in it, which will significantly improve the drying time.
Timber sub-floor
If there are existing floorboards in the area that you would like to install new engineered herringbone, a layer of plywood may be required to be installed. In order to prepare the base for the new parquet, it is recommended to either lay a layer of plywood on top, or if the floor boards are not in good shape, they may need to be replaced with thick plywood. This should give you stable and good enough base for the fitting of engineered herringbone.
NOTE: In areas where the flooring is not sufficiently levelled, some additional work in terms of leveling of the joists may be required. For fitting of engineered herringbone, there is no need the surface to be spirit level, but it needs be be flat.
Sub-floor with Underfloor Heating
If there is new or existing underfloor heating system in the area where engineered herringbone needs to be installed, you should proceed with extra attention to the substrate. Depending of the type of it you should proceed accordingly. There are three general bases on top of Underfloor hearing:
- Underfloor Heating buried in screed
Where the underfloor heating is buried in screed. Checking the moisture content in the base is important, prior installation of the engineered herringbone. Once you make sure that the MC levels are with in the tolerance, as a second precaution it is strongly advised to apply Epoxy-resin DPM, in order to block any residual moisture.
- Underfloor Heating laid in trays with Plywood or timber on top
Where the substrate is timber type (plywood), you can proceed with the installation of engineered herringbone directly on to the plywood surface. Plywood is good option to bond new engineered herringbone parquet.
- Electrical Underfloor Heating foil mat
Usually the electrical Underfloor heating foil mat is designed for installation of a floated floor on top. As mentioned above, the proper way of installation of engineered herringbone parquet flooring is glued down on to the base. Unless your engineered herringbone is one of the exceptions that can be installed floating, you would need to allow for a layer of T&G plywood with suitable underlay underneath.
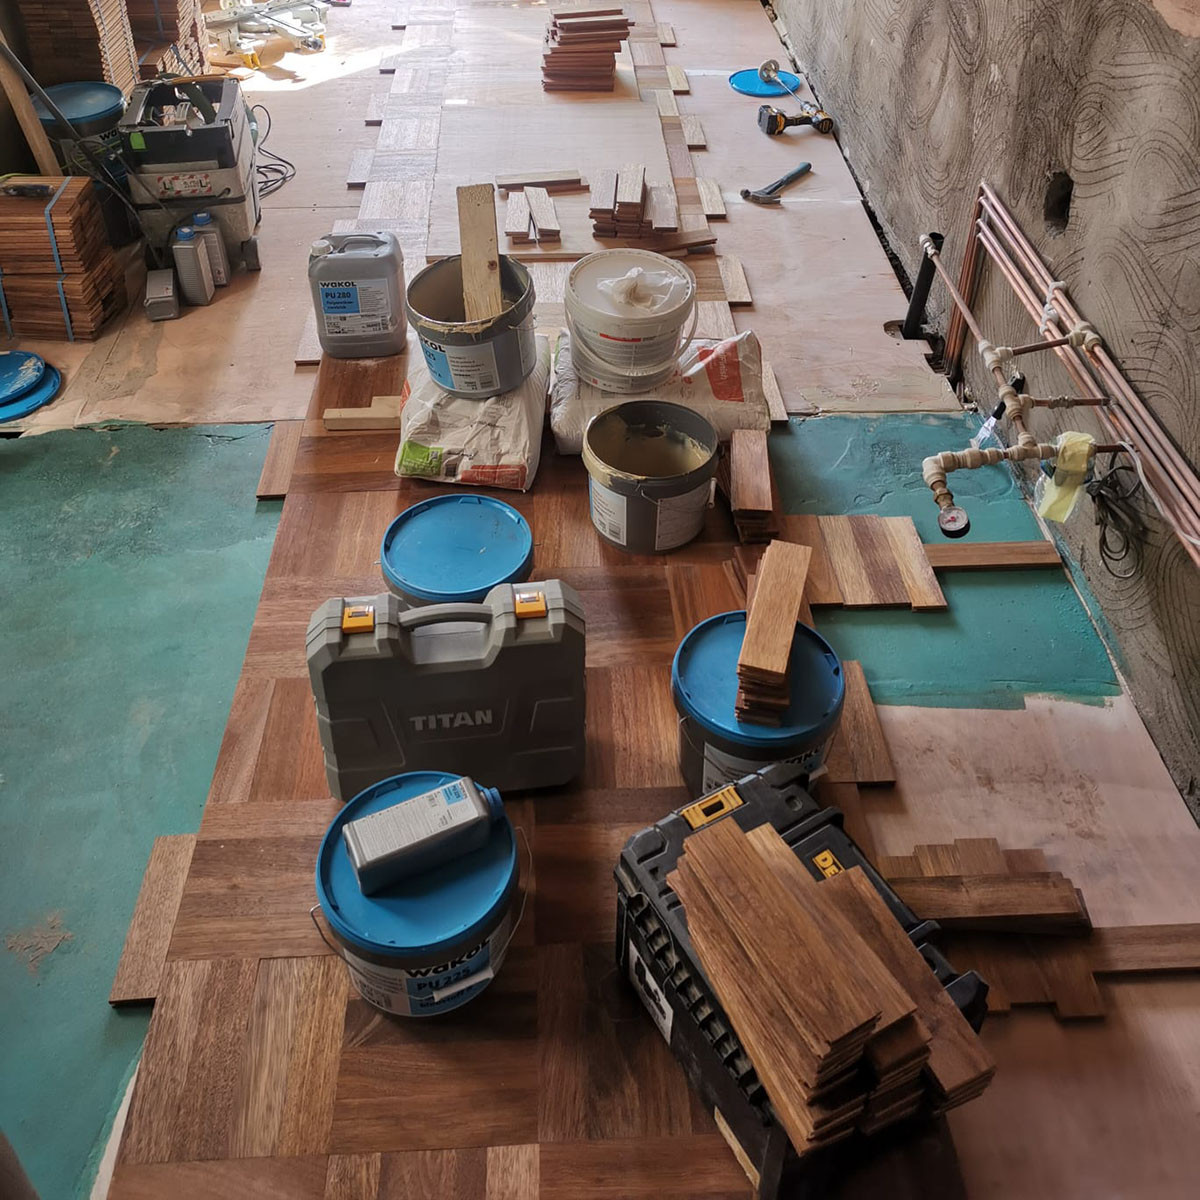
After the preparation work is done, but before you start with fitting engineered herringbone, you have to make sure that you have the correct installation materials, for the work.
Installation Materials
Parquet adhesive
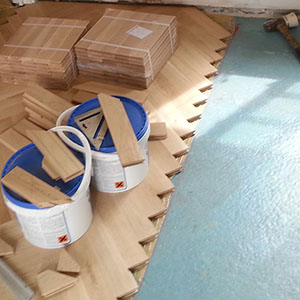
Make sure that you have the correct type of the parquet adhesive, recommended for installation by the flooring manufacturer or supplier. This is very important, as it could potentially void the warranty of the engineered herringbone, if unappropriated type of adhesive is used.
If the engineered herringbone needs to be fitted on to underfloor heating, you have to make sure that the adhesive is appropriate to do that. In order to make sure you may need to contact both the flooring manufacturer/supplier, as well as the underfloor heating supplier/installer.
Always check with the manufacturer recommendation about the usage and opening time of the herringbone adhesive. It may vary from brand to brand and for different types of adhesives.
NOTE: Please note that the recommended installation method of engineered herringbone is fully bonded on to the base, using appropriate adhesive. If this is the case you do not need any underlay to lay underneath the flooring.
Exclusions
There might be some exclusions and if the engineered herringbone comes in click system (not very common), the manufacturer, might recommend installing it as a floated floor. In such cases you would need to follow the guidelines of the supplier/manufacturer.
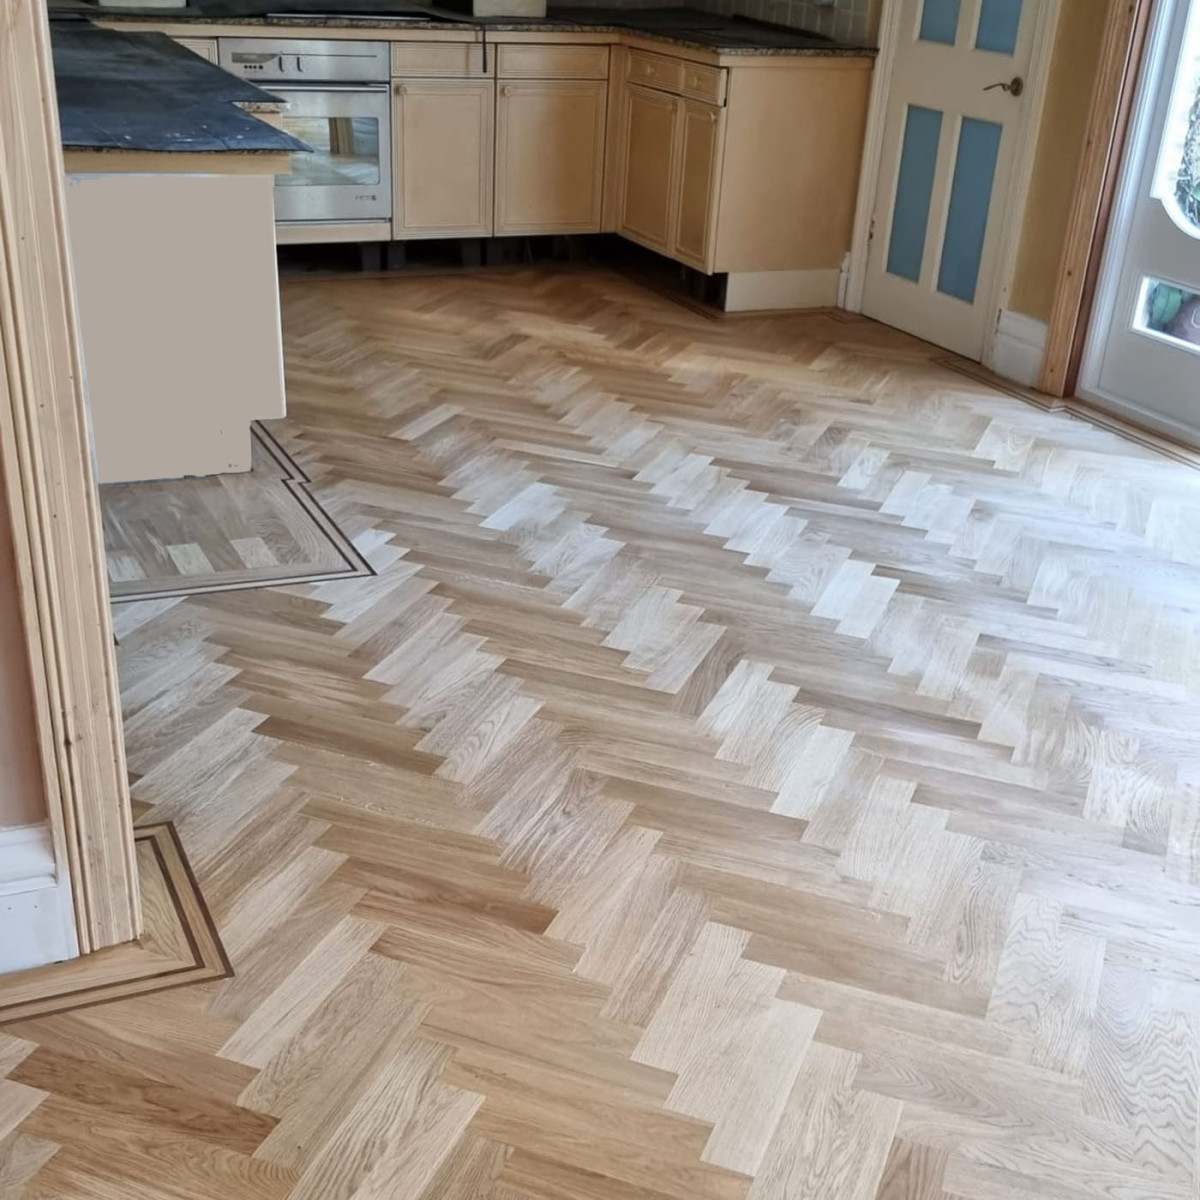
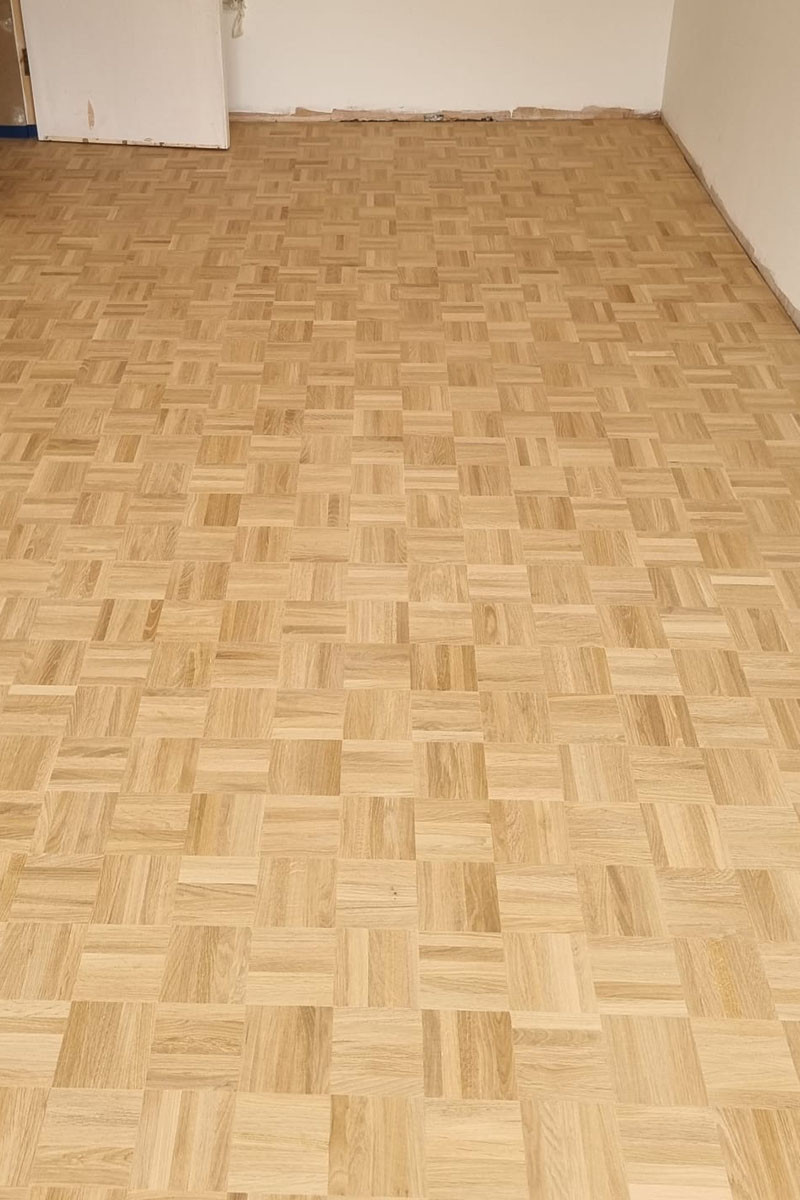
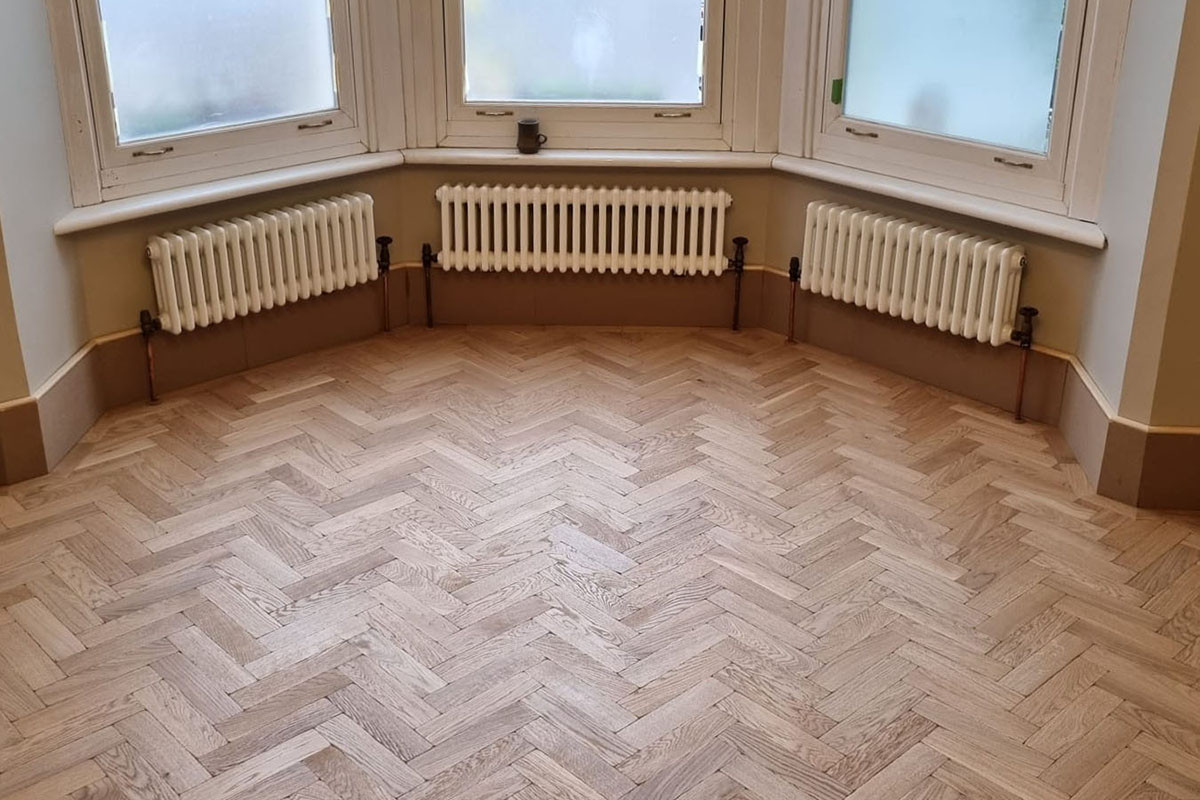
Fitting engineered herringbone
Once everything is prepared and you make yourself familiar with how to use the parquet adhesive, I is time to start with the actual installation.
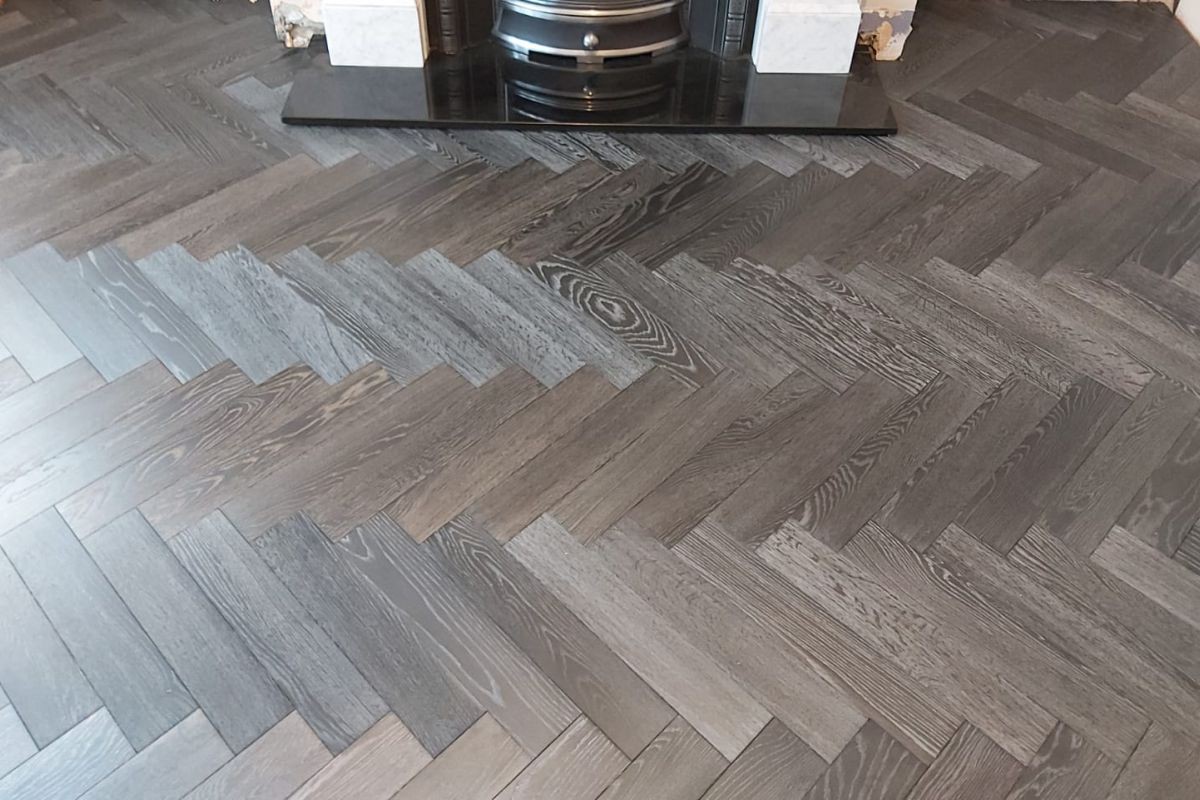
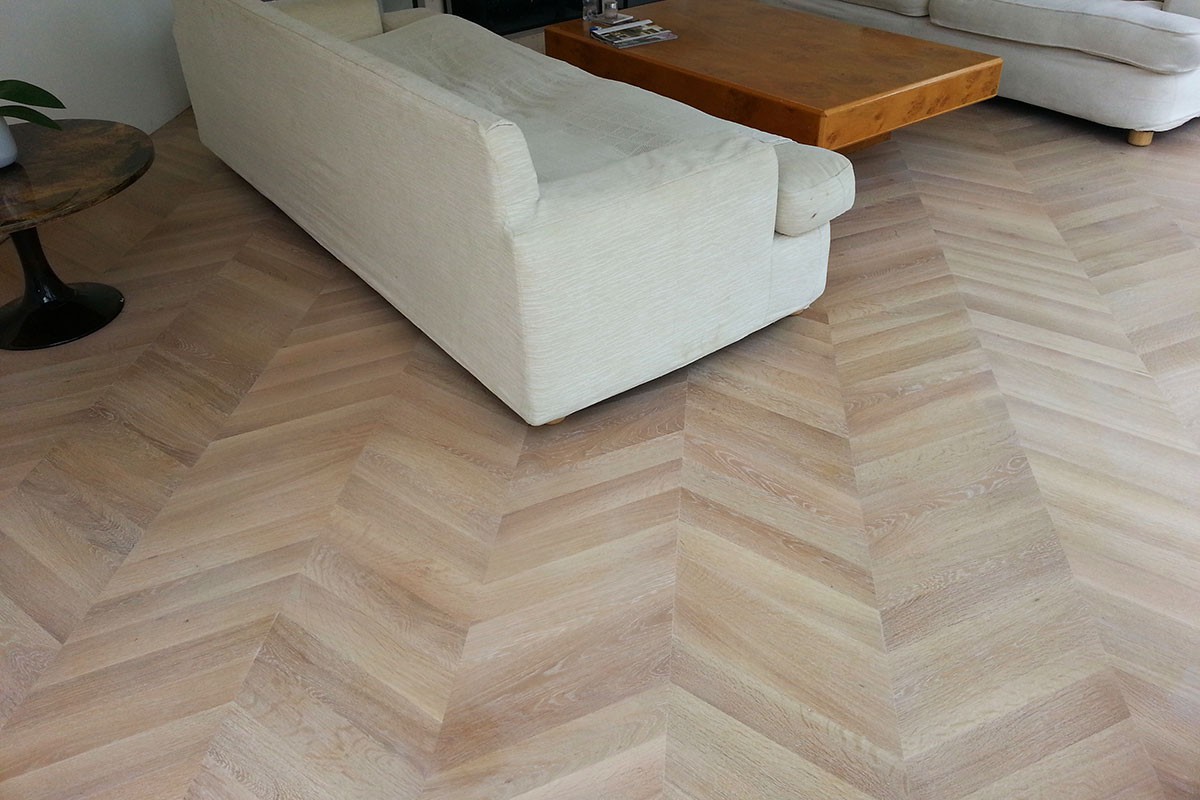
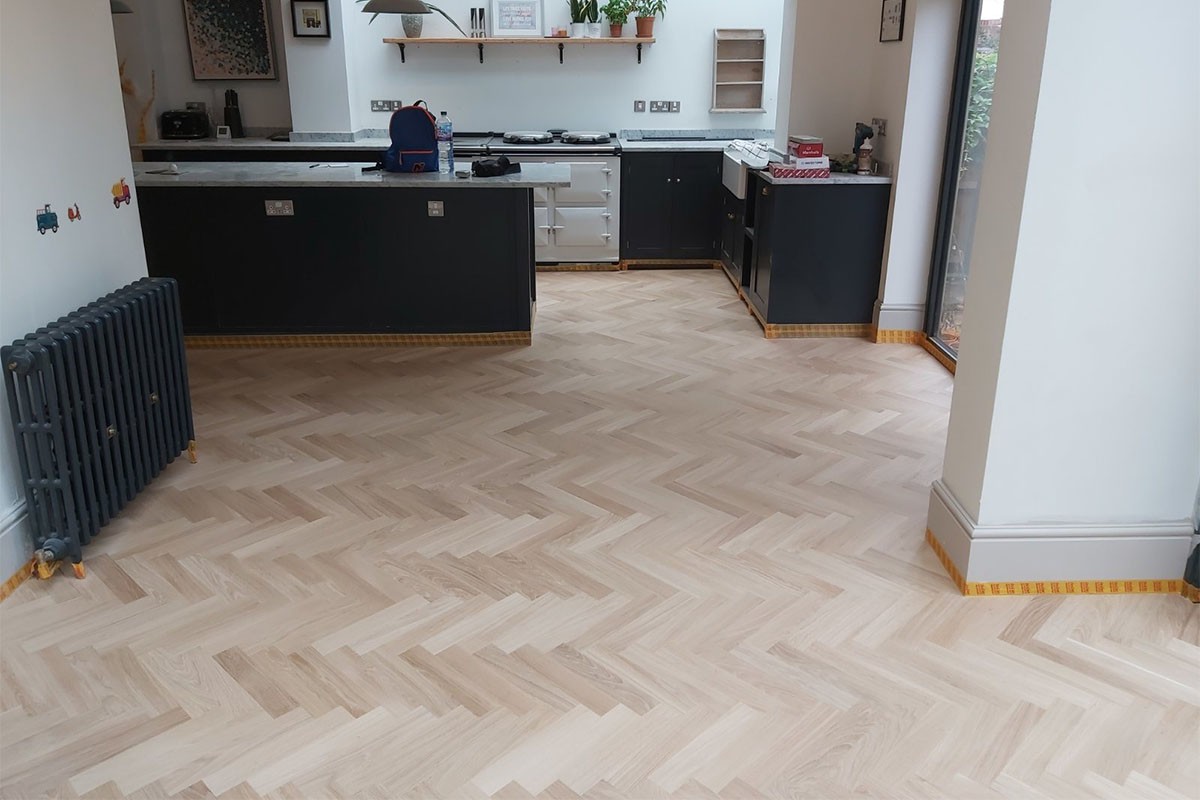
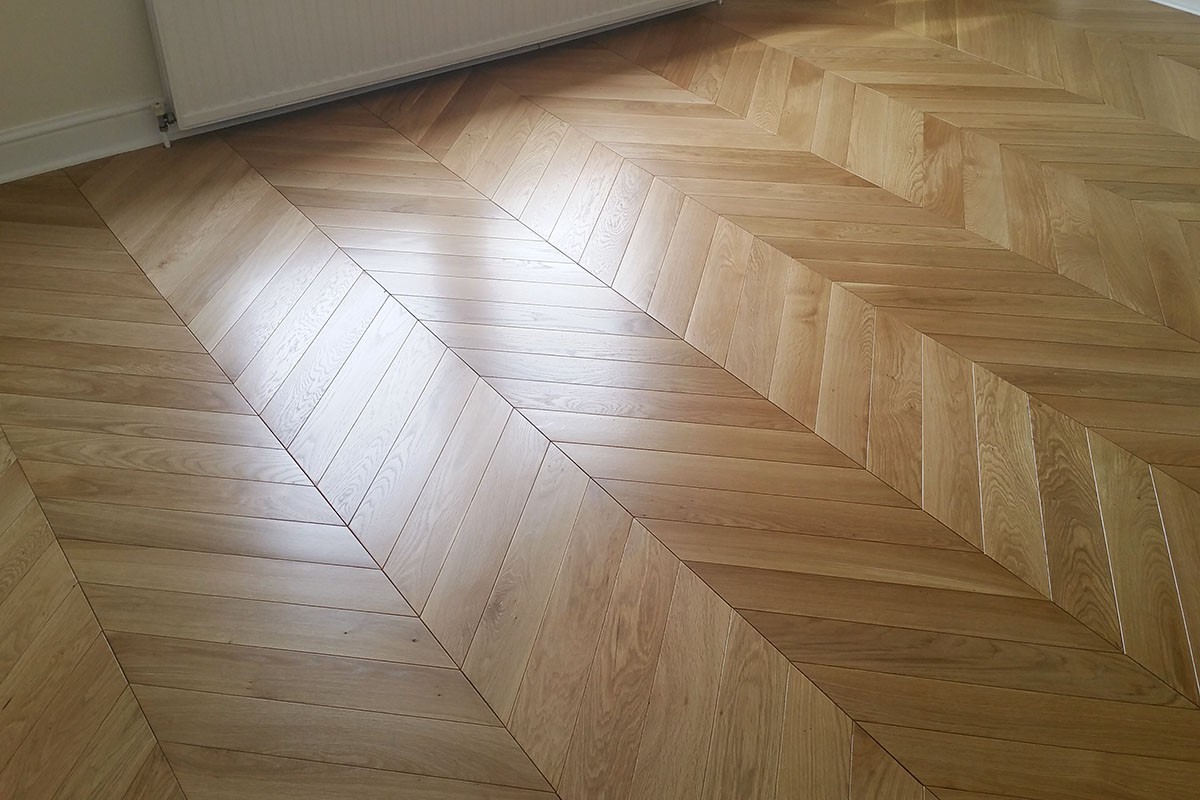
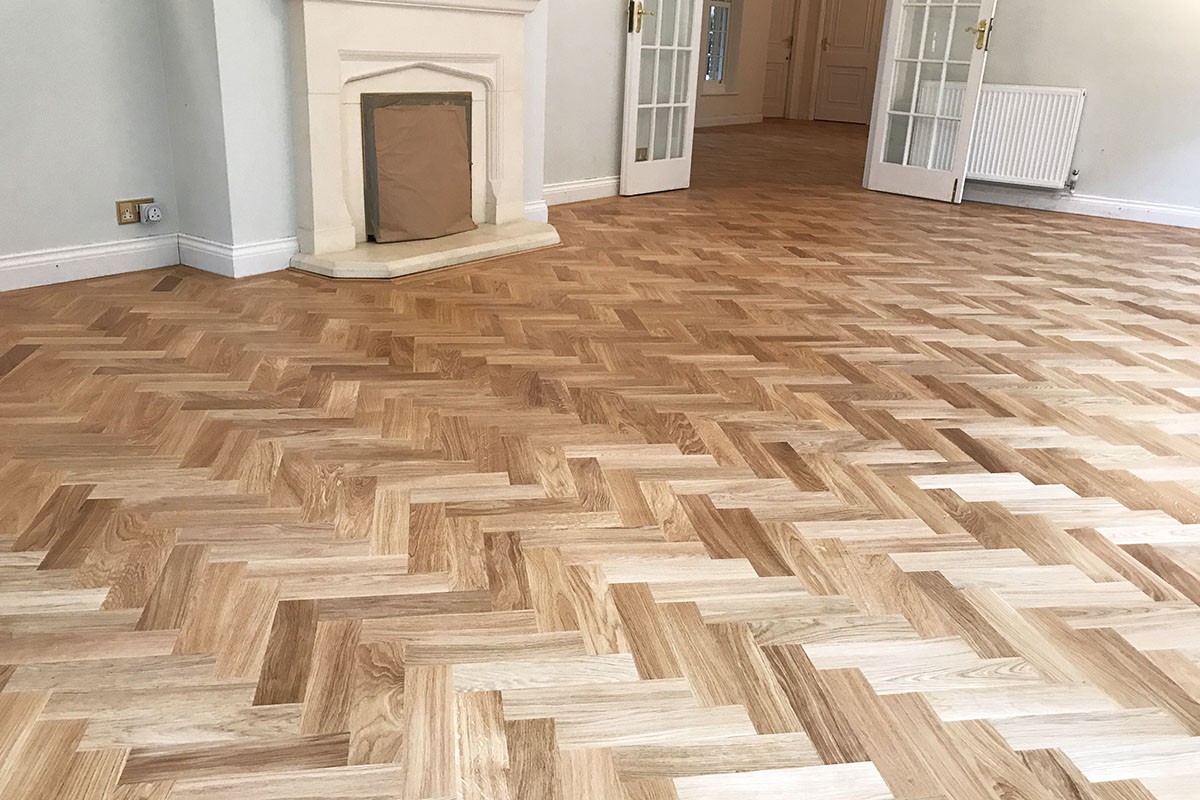
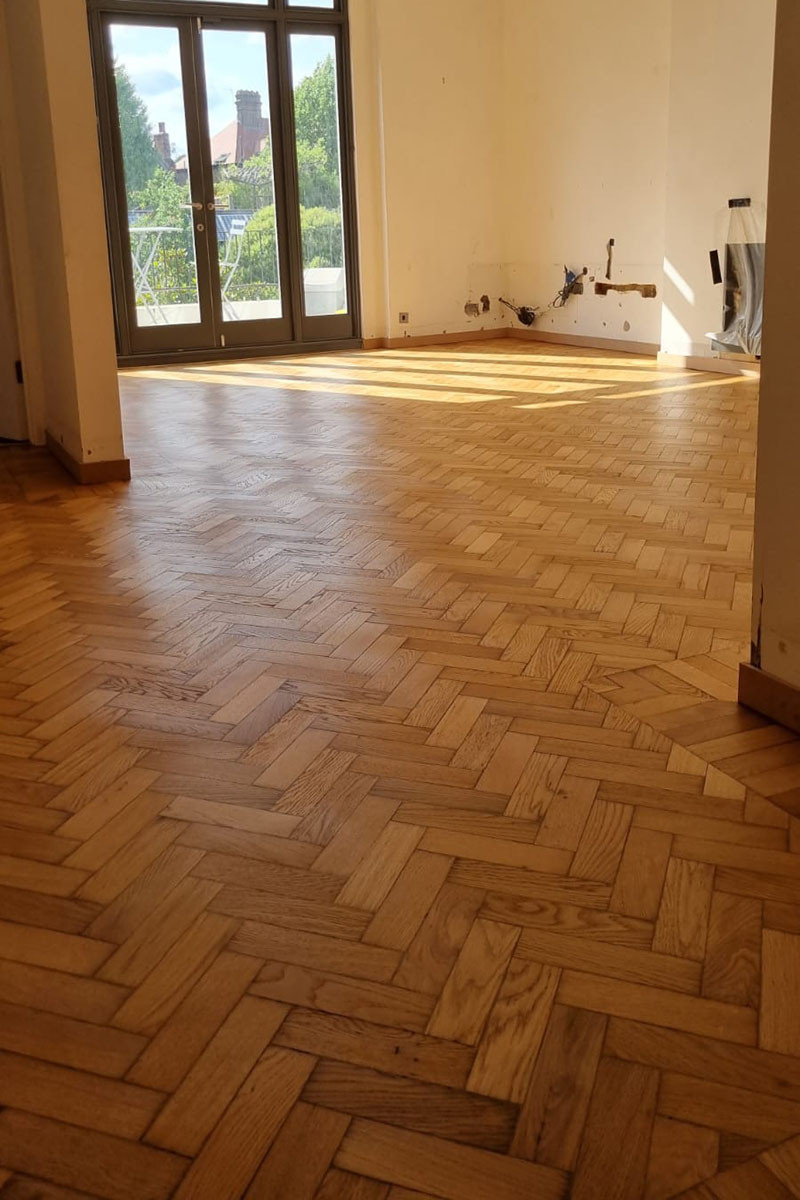
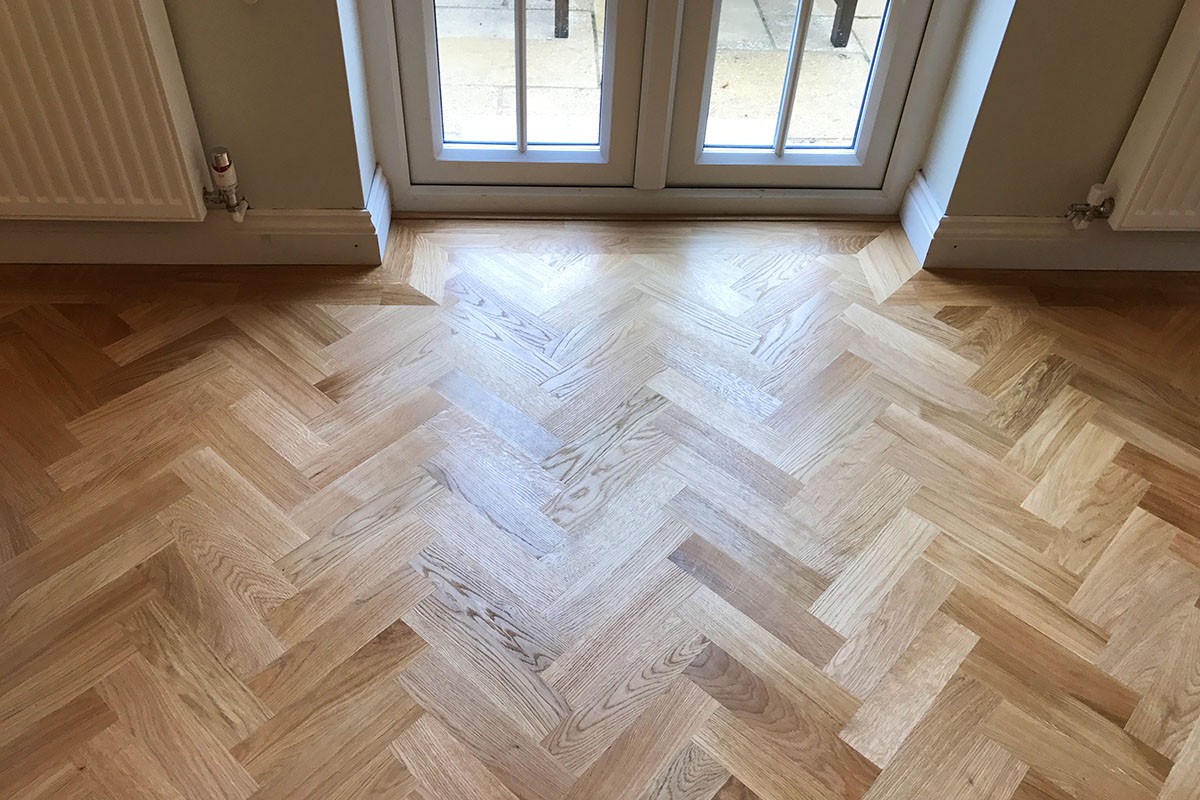
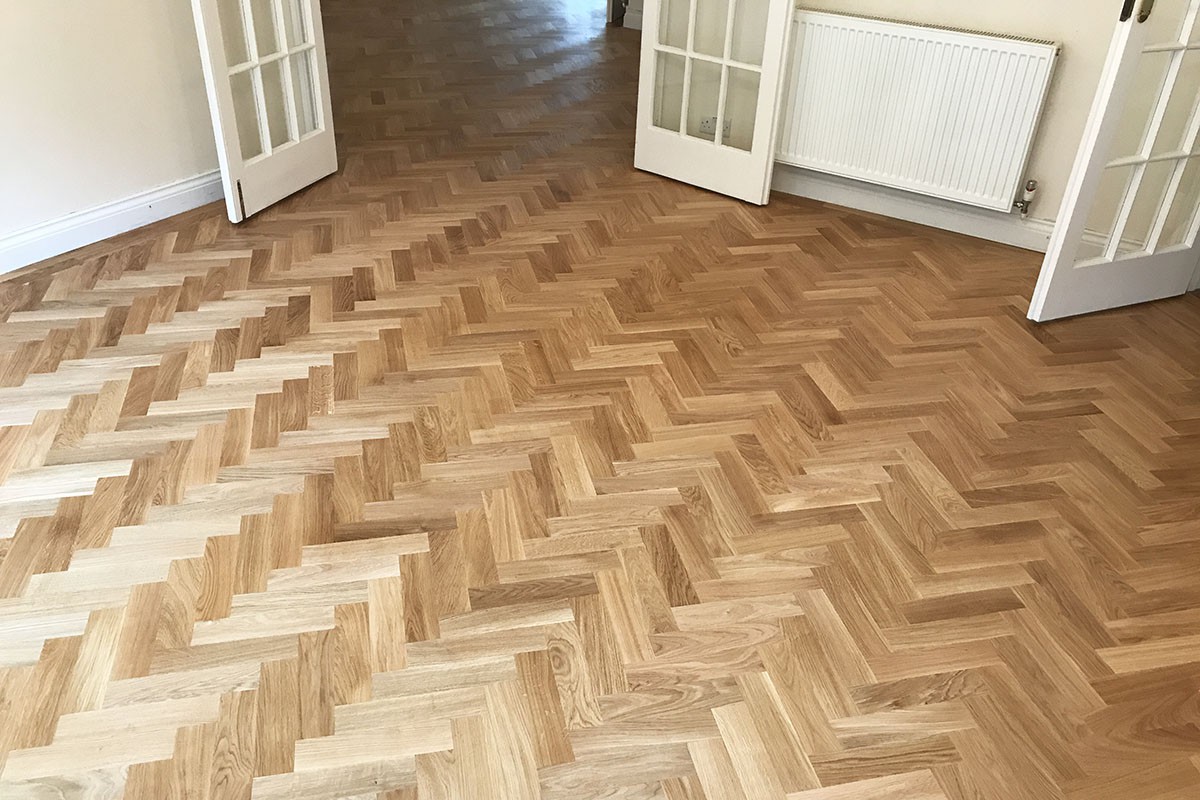
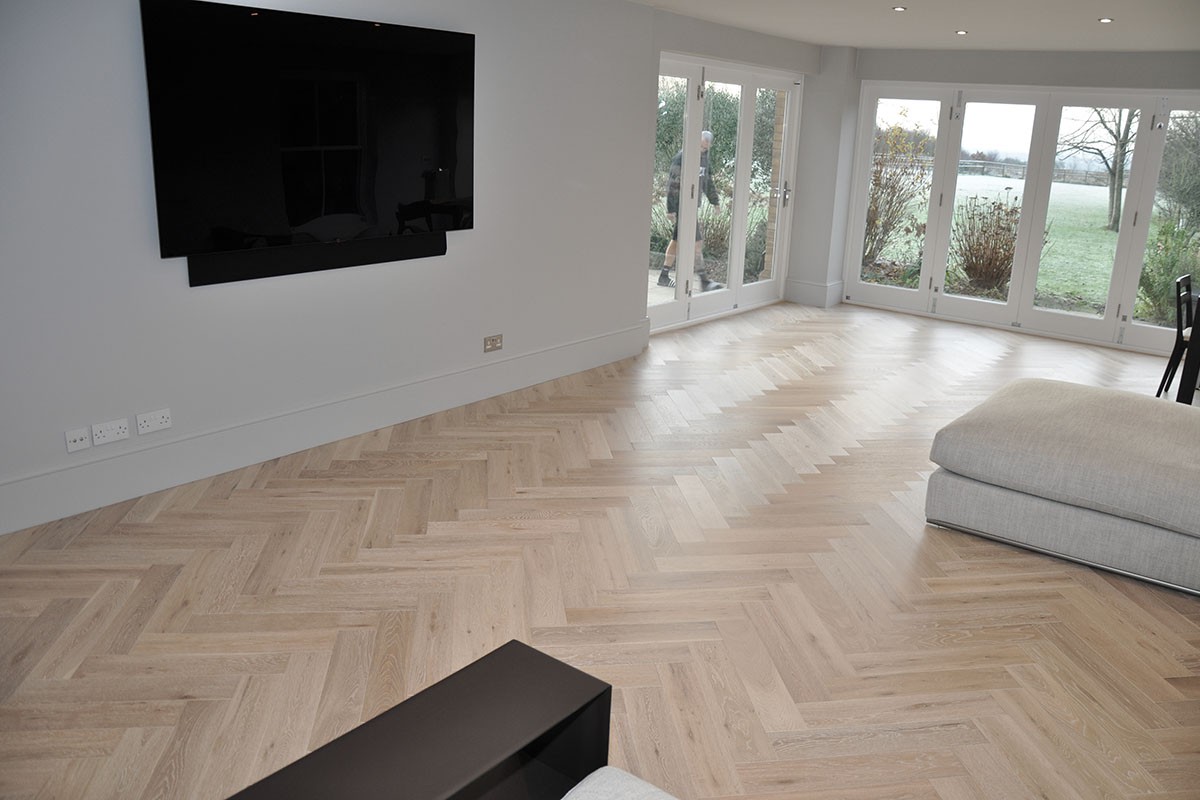
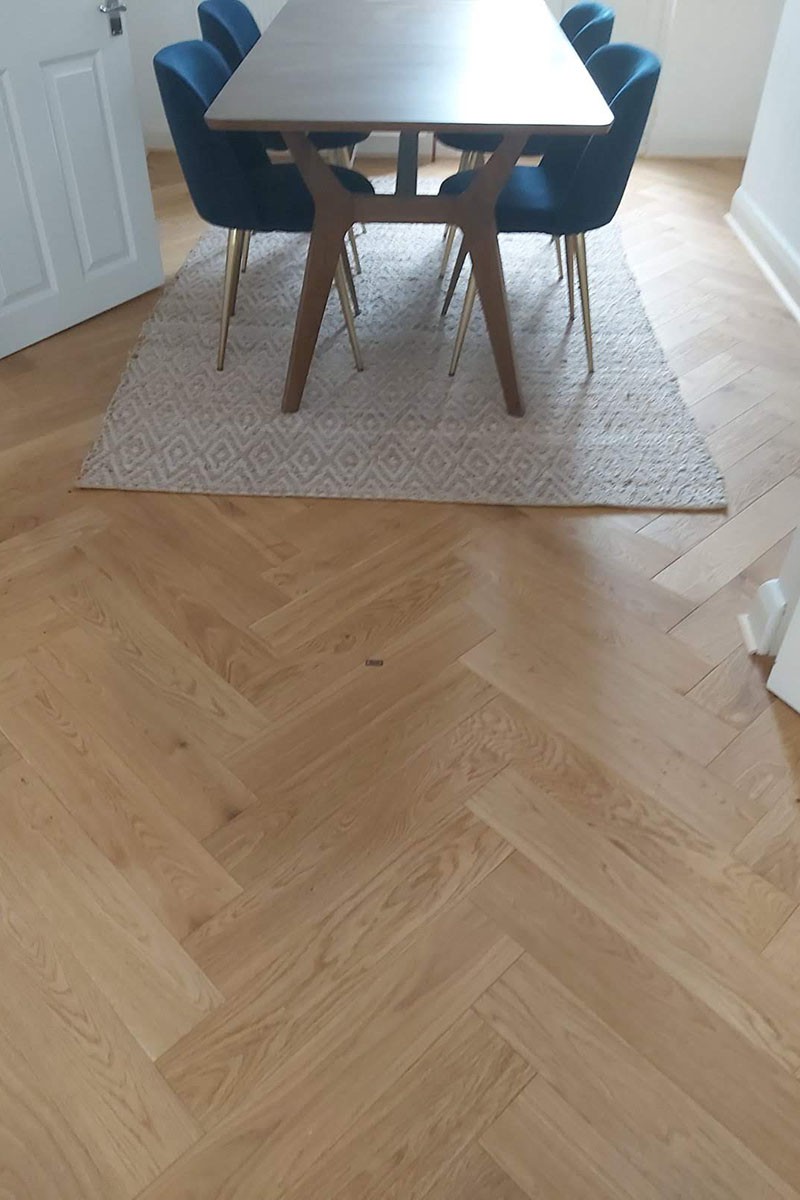
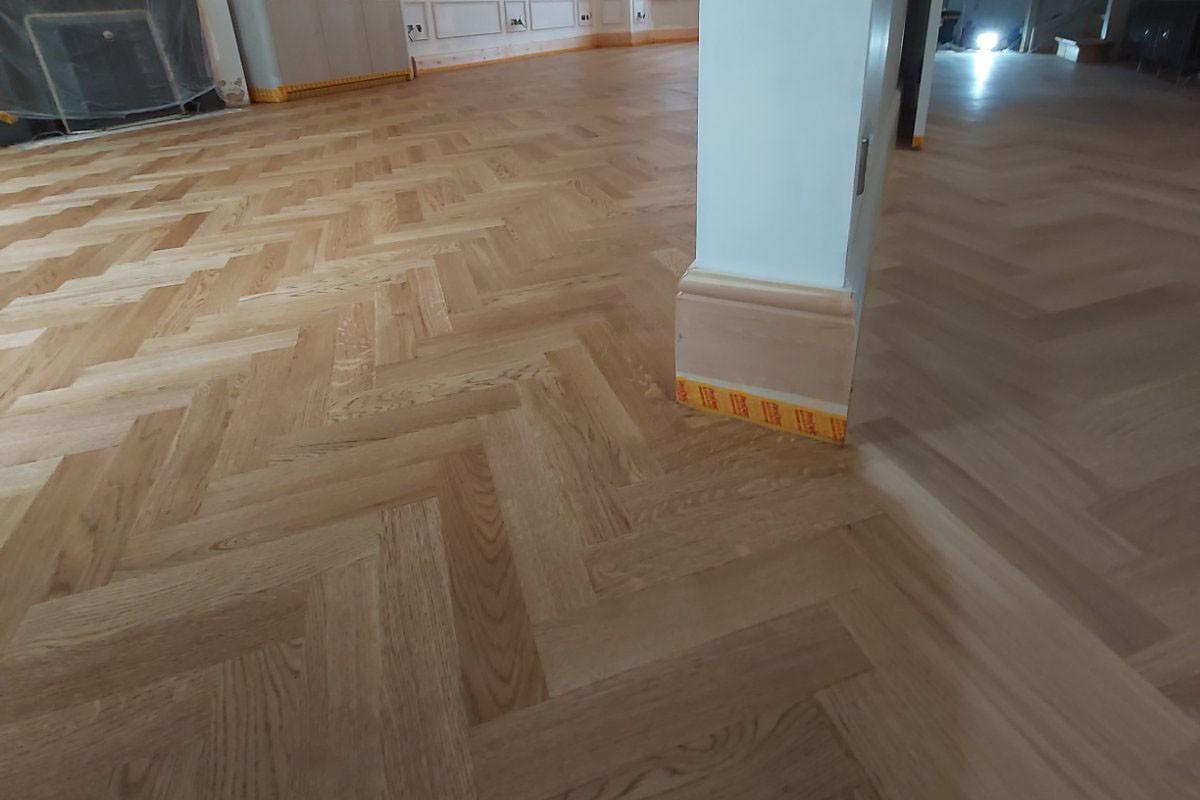
Direction of the herringbone parquet.
Standard practice is the fitting of engineered herringbone parquet flooring to be done lengthwise of the room. Where the flooring runs through multiple rooms with no separation at the doorway (threshold), this may differ for the different rooms, so it will be up to your discretion.
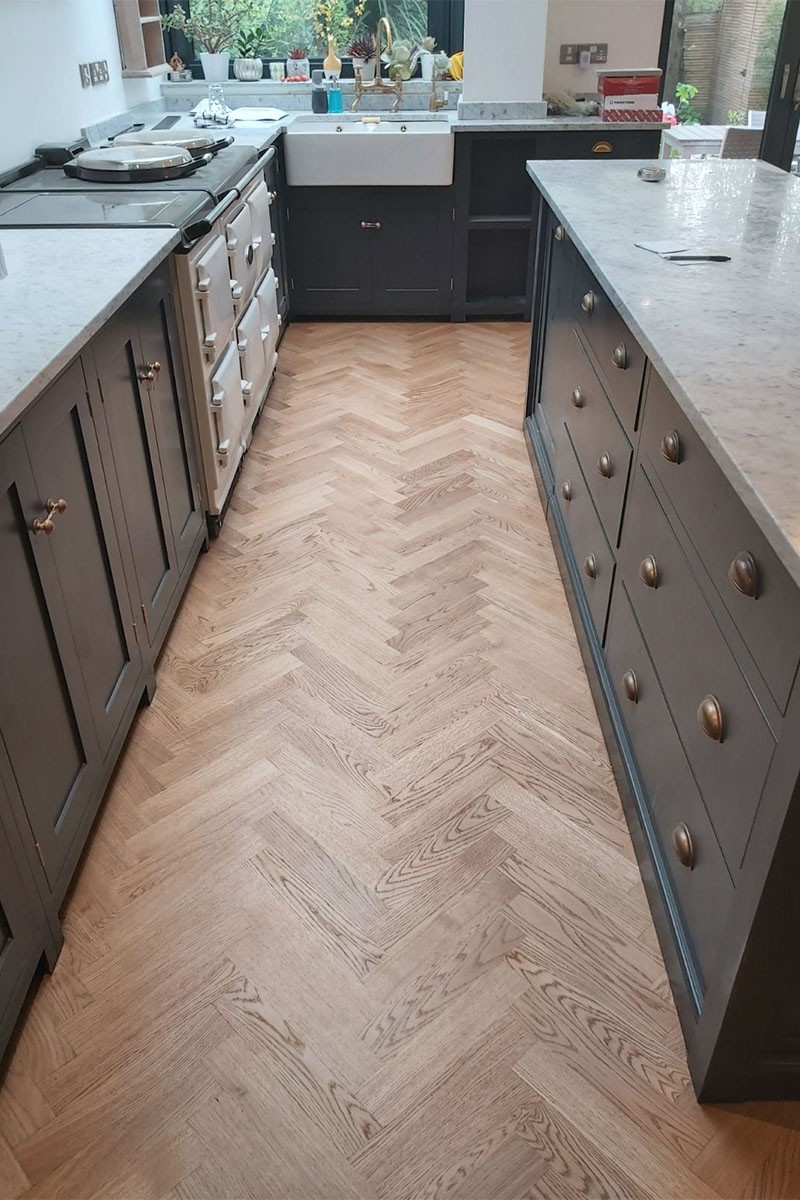
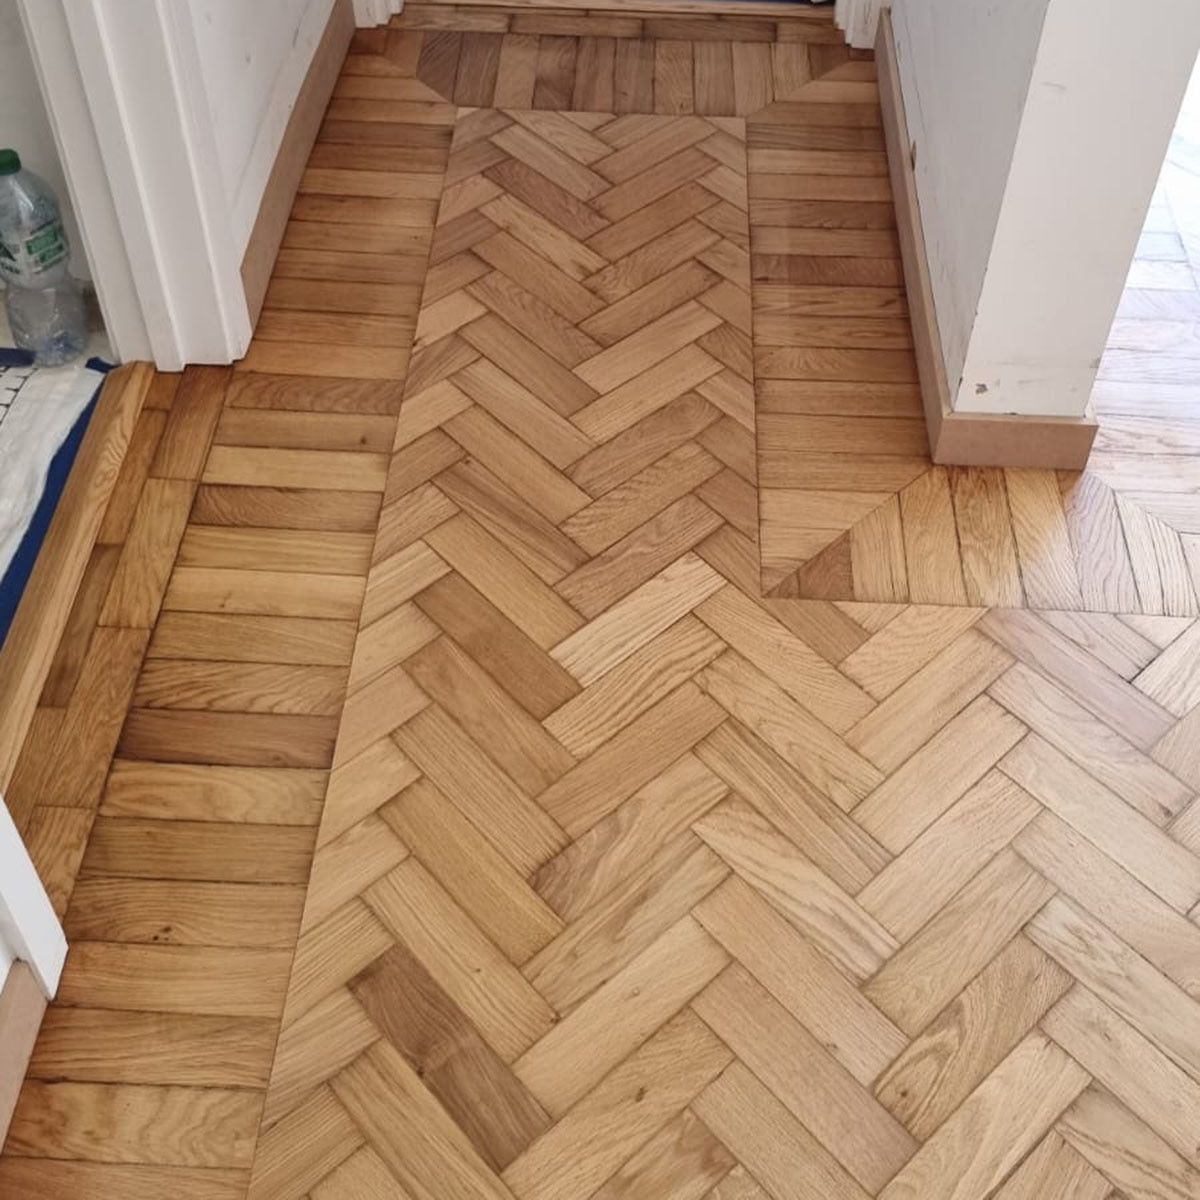
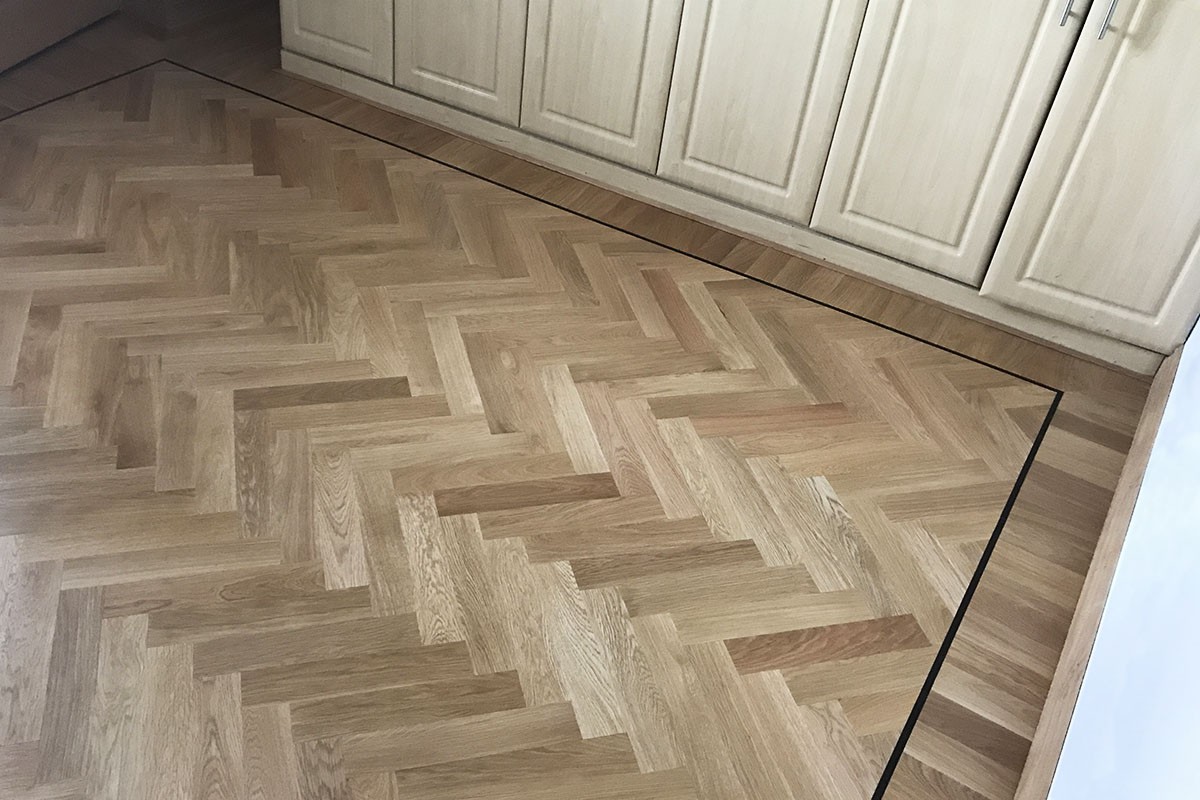
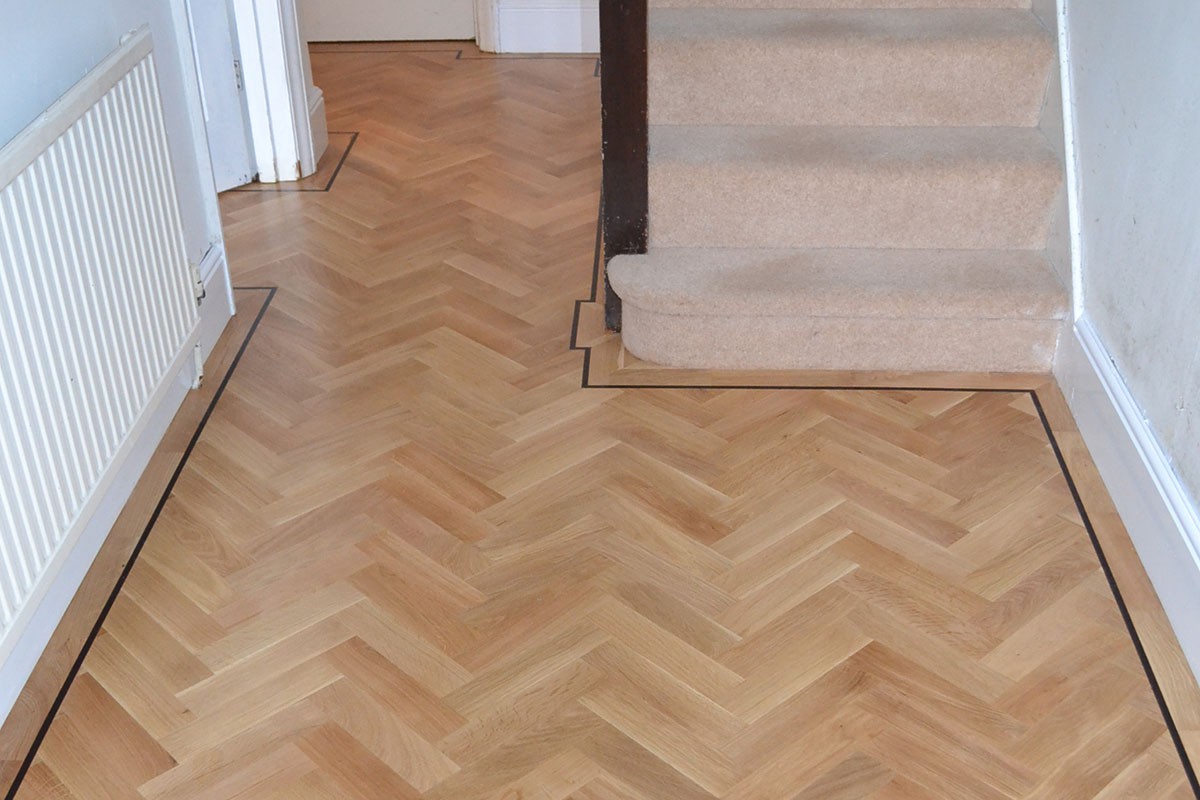
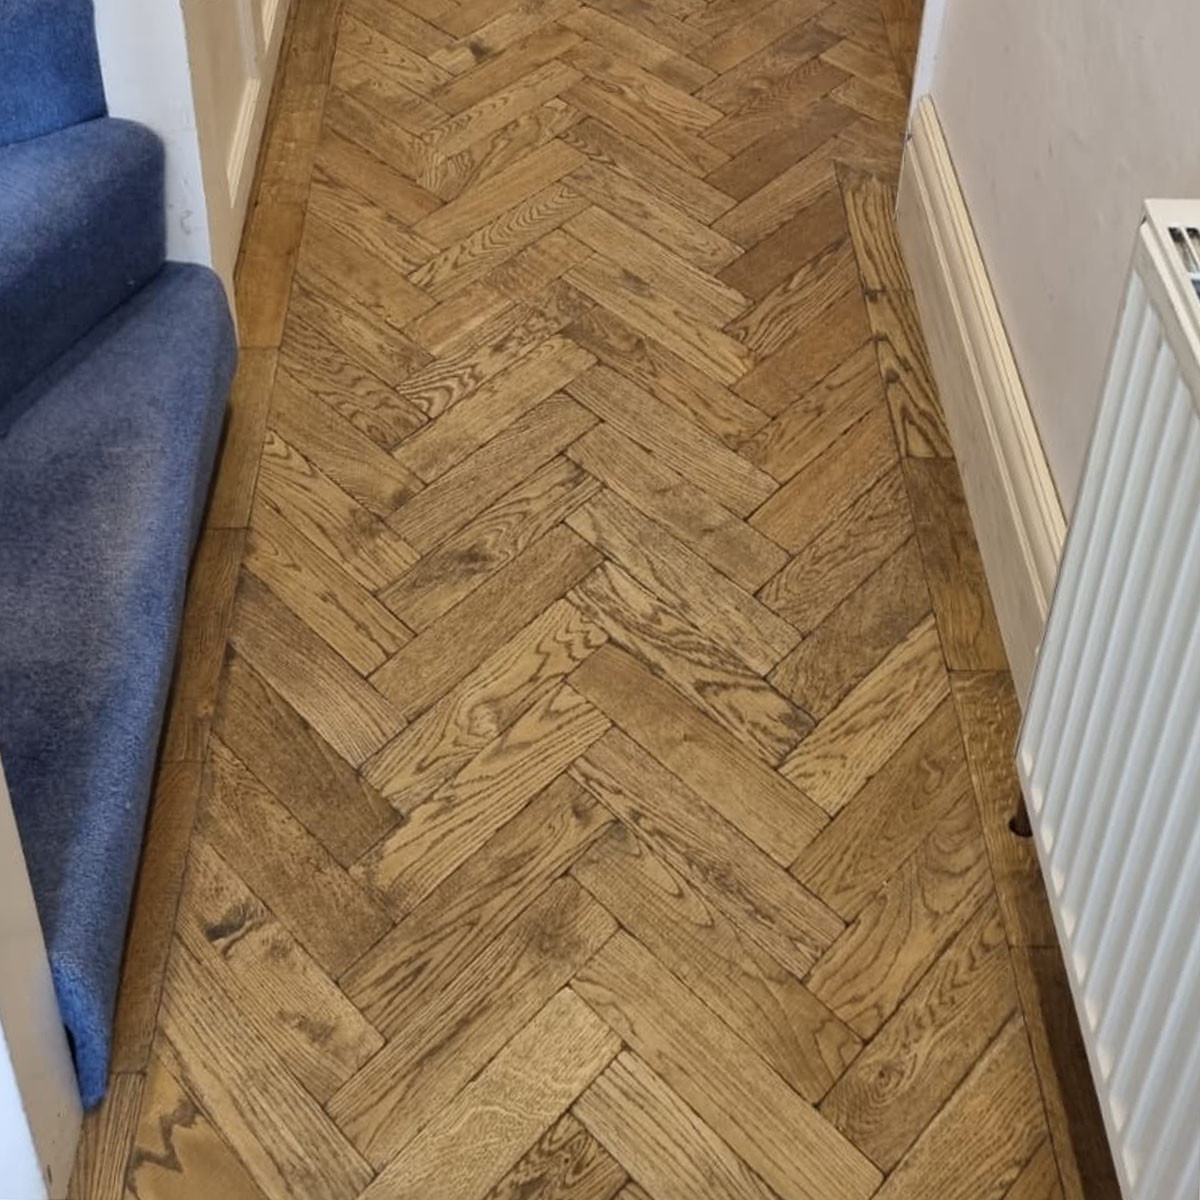
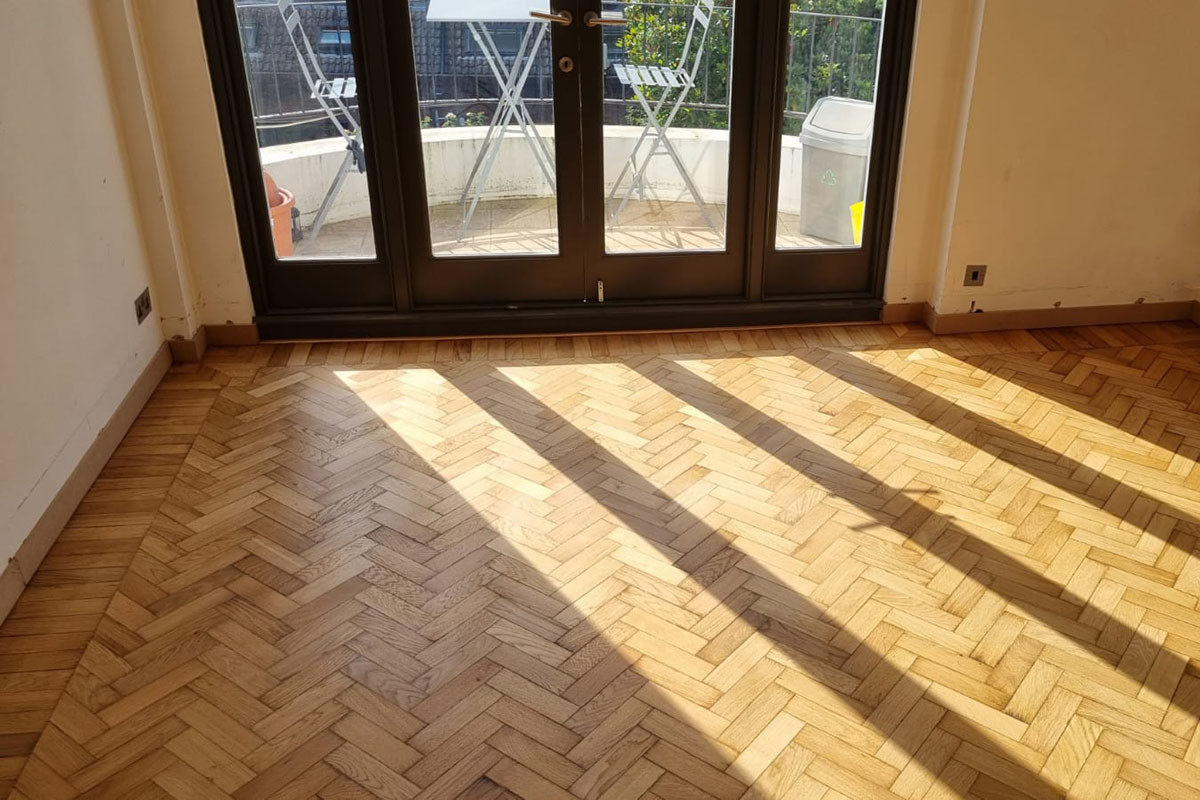
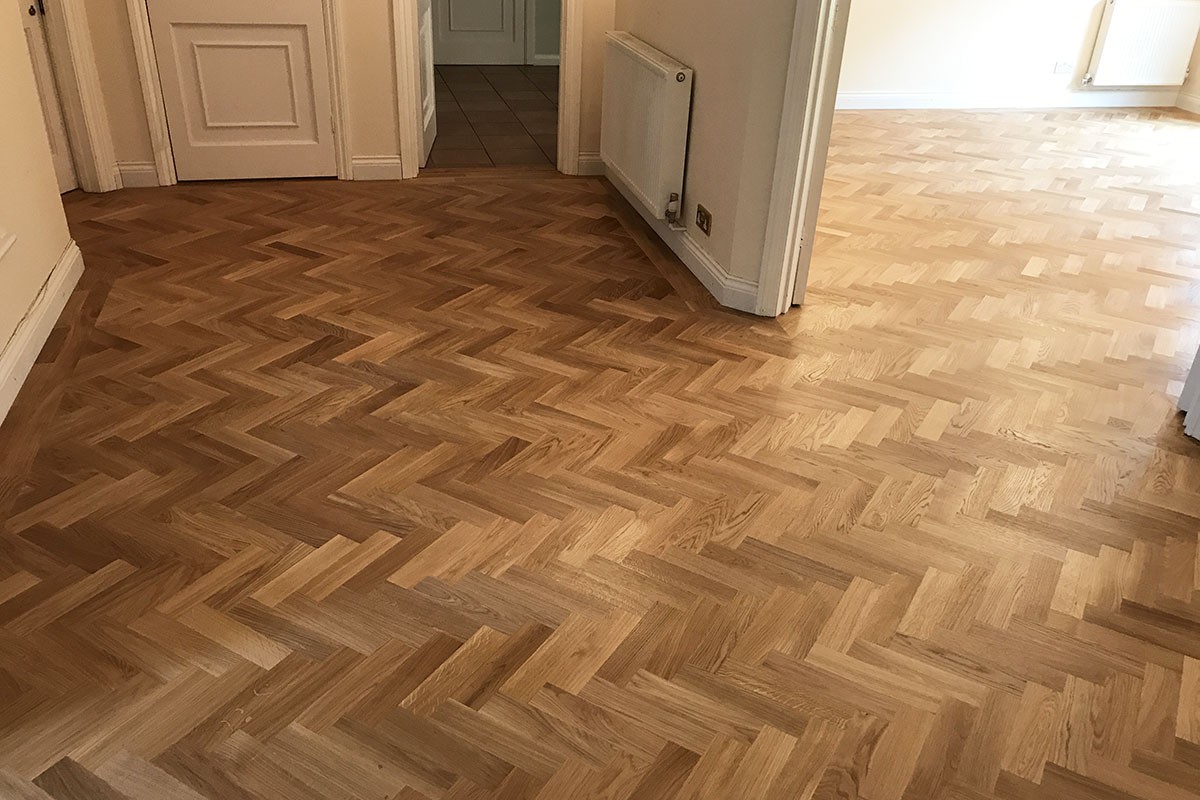
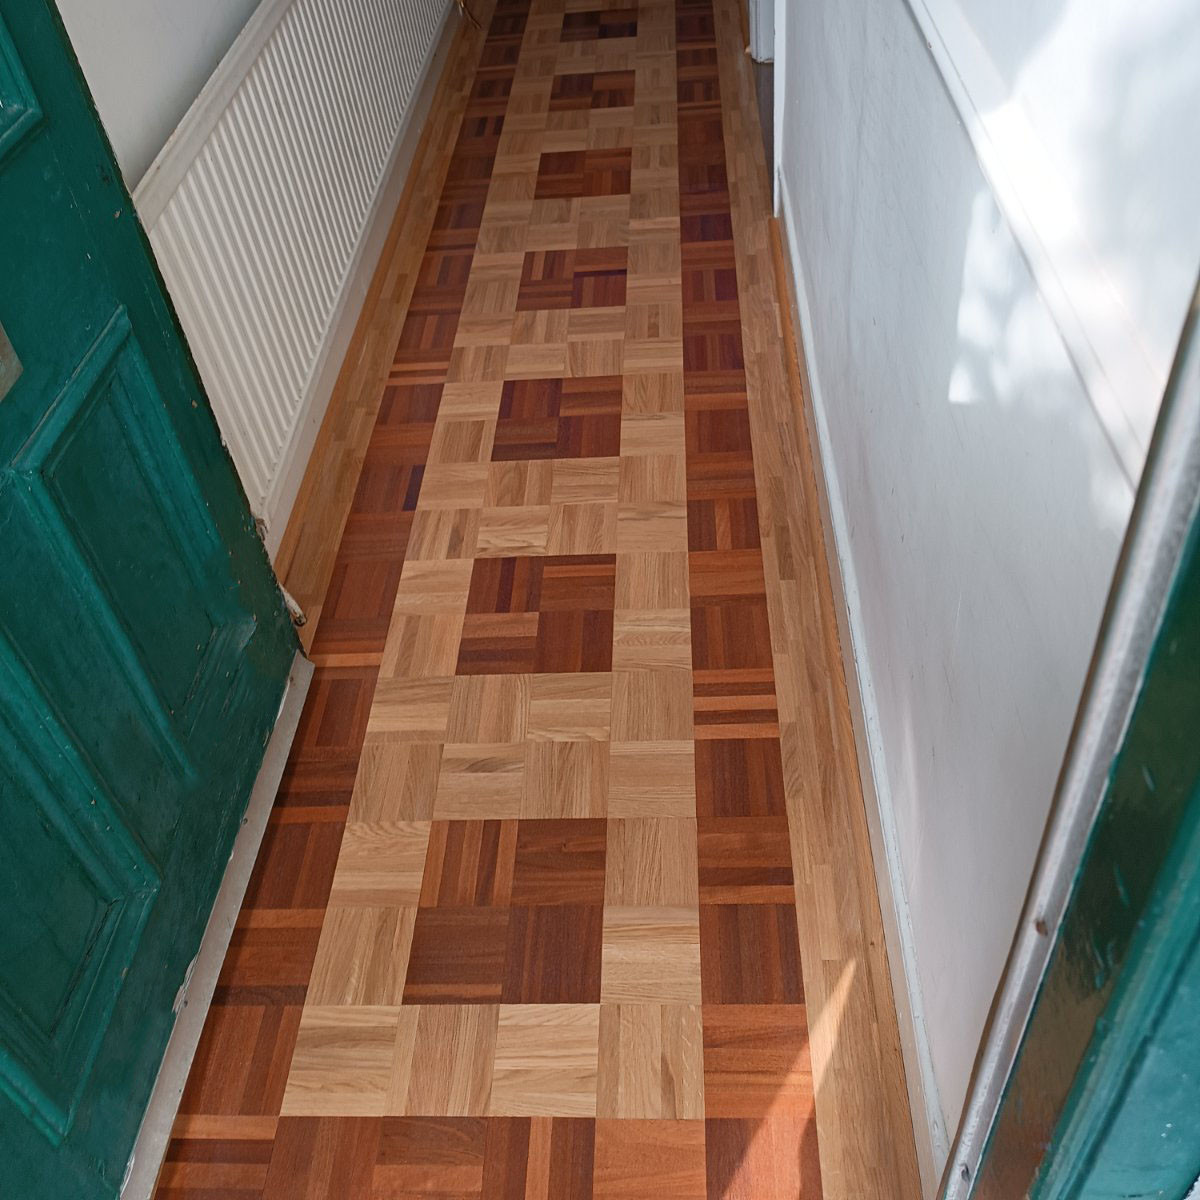
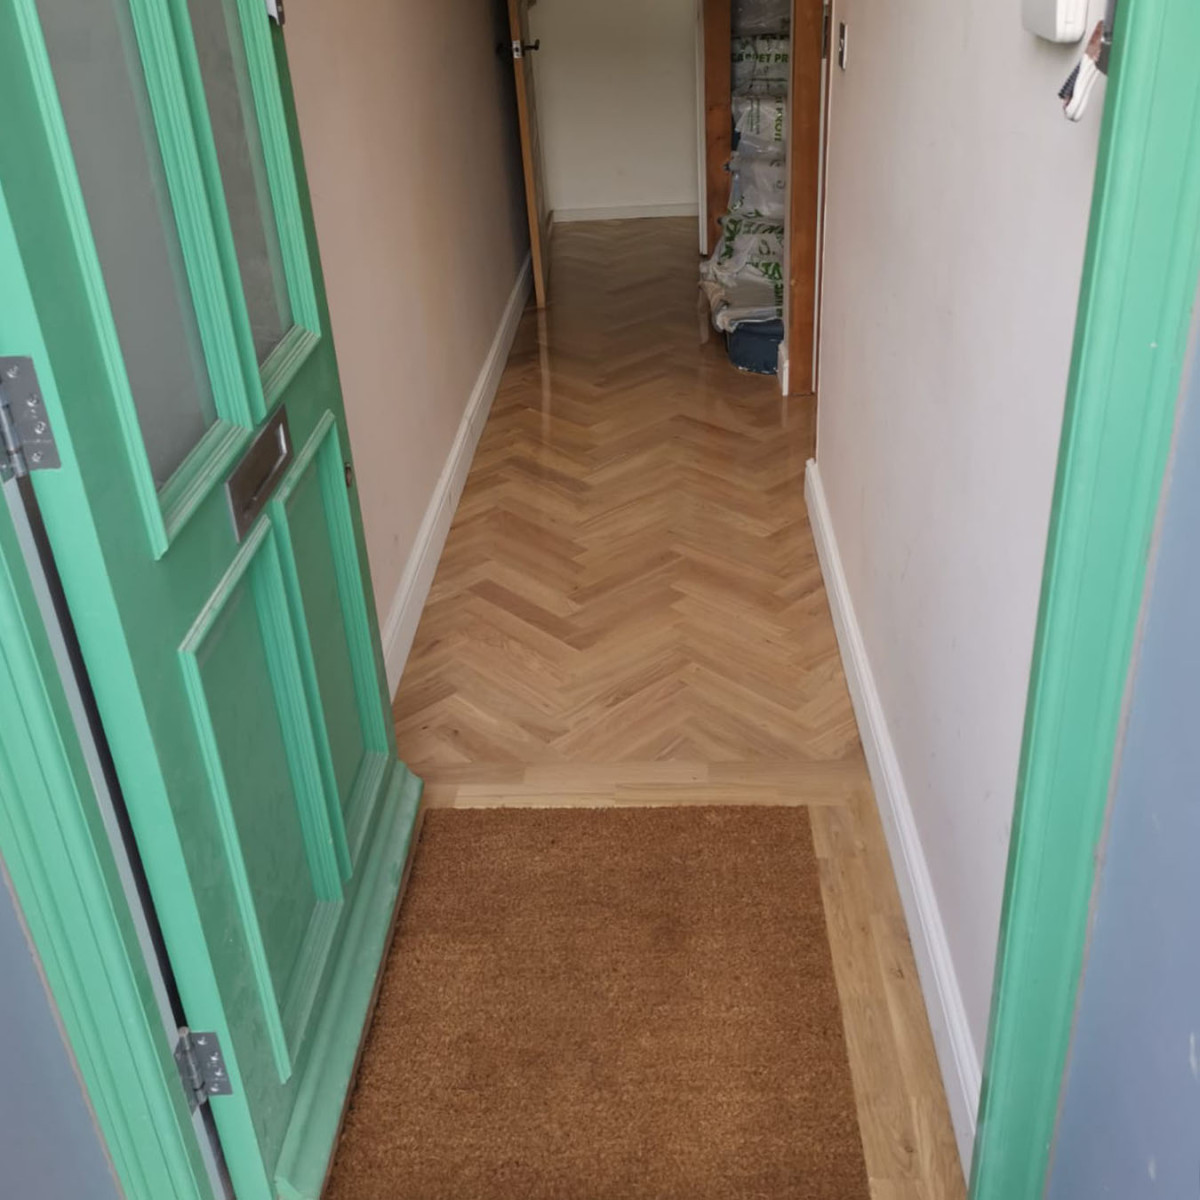
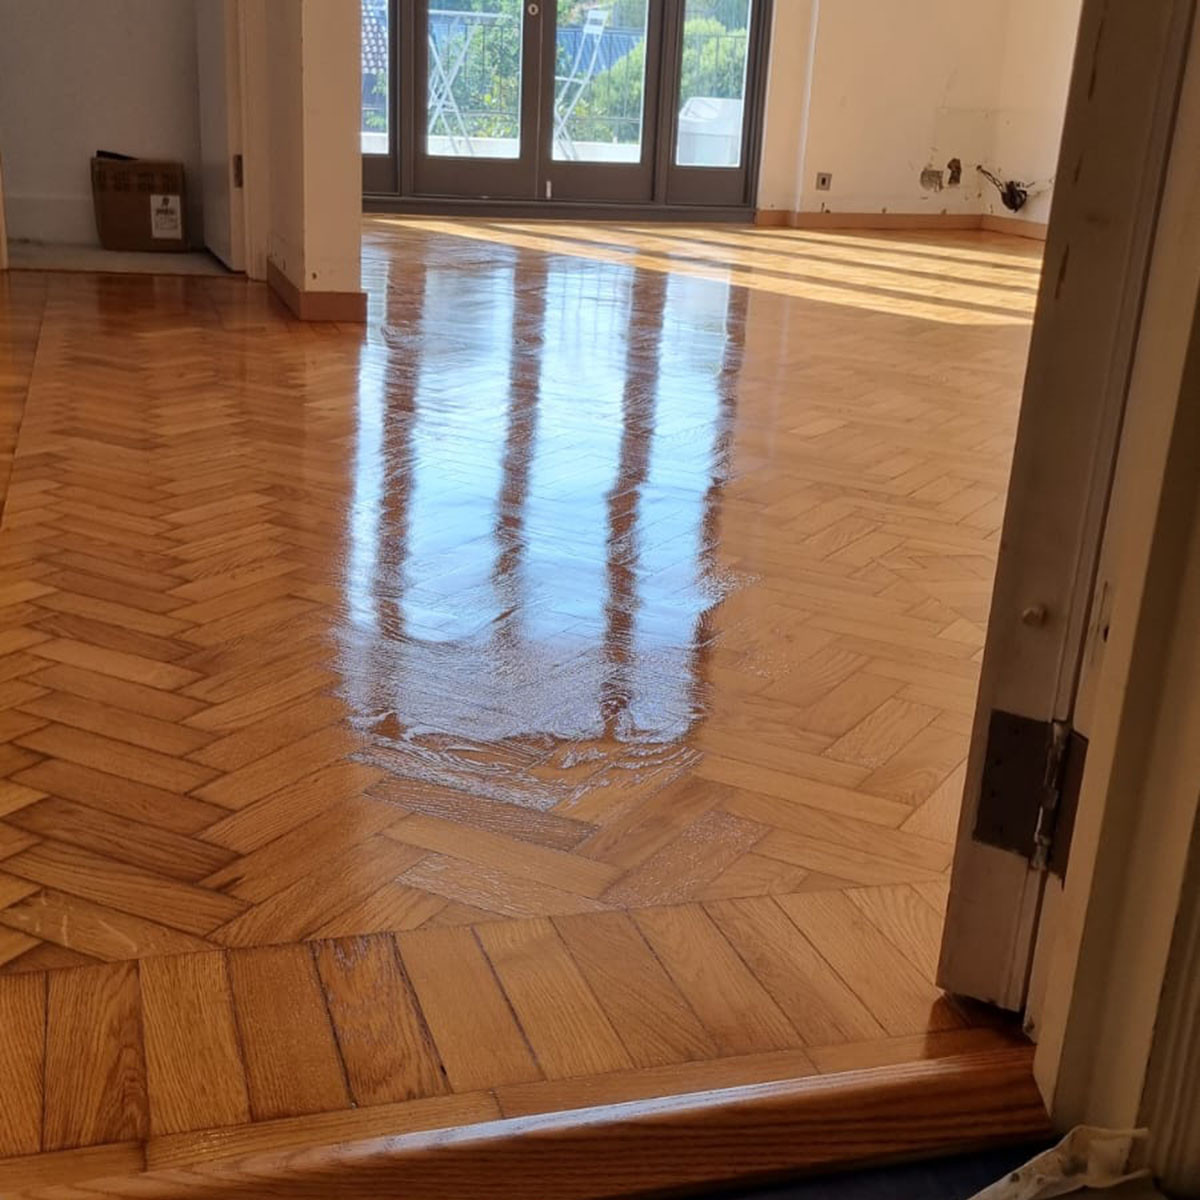
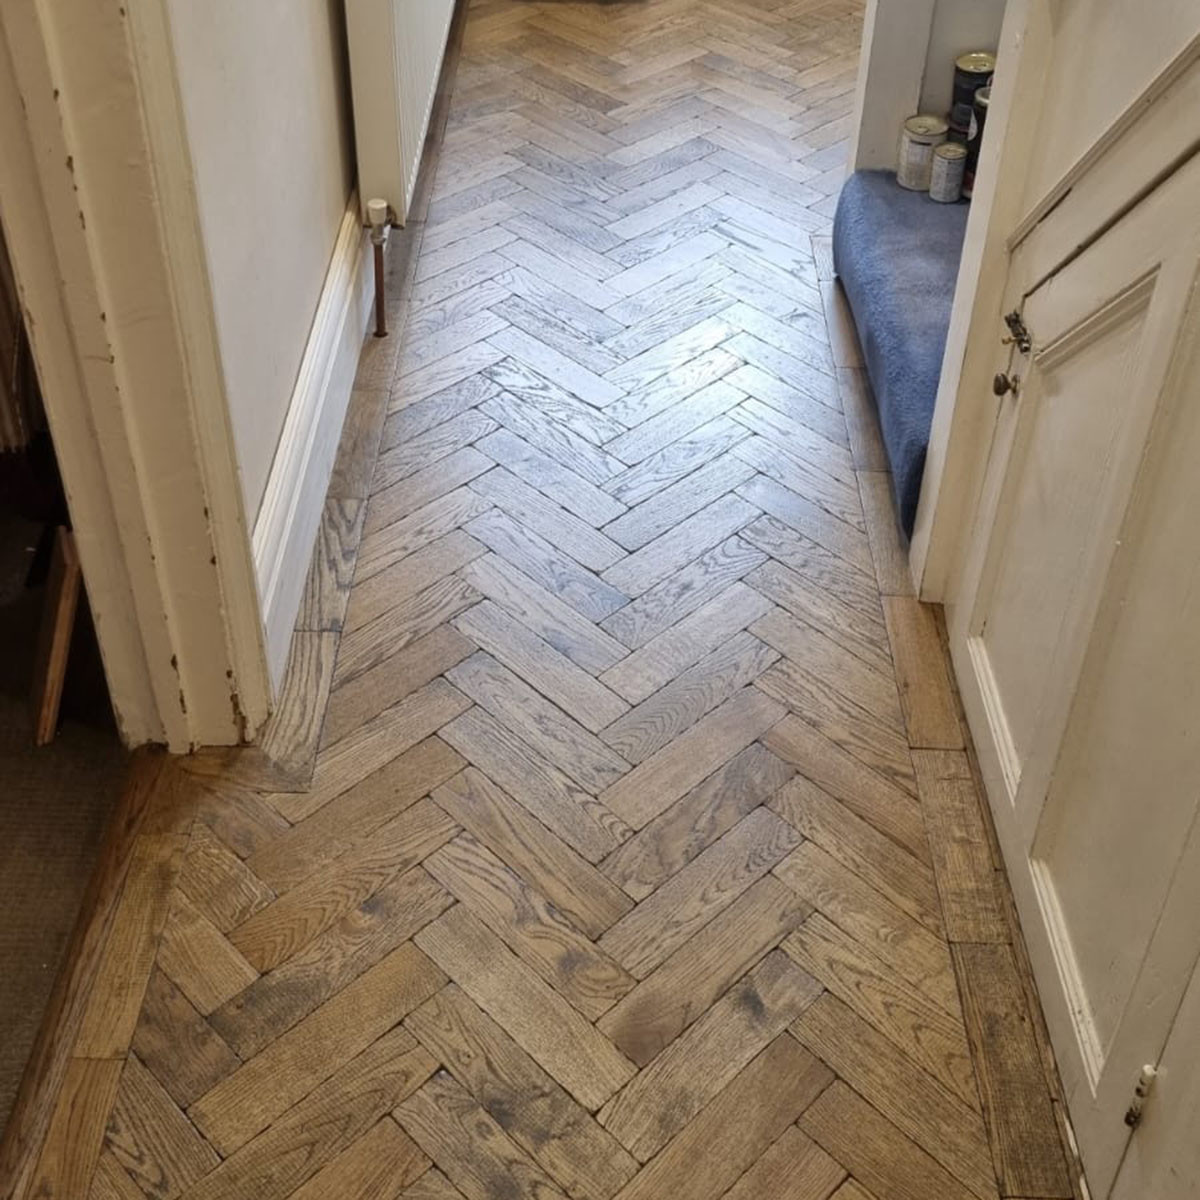
Where does fitting of engineered herringbone start?
 Usually the most sensible way to start with fitting engineered herringbone is from (or through) the doorway. If the herringbone needs to be installed in multiple rooms and there is a hallway in between, the more sensible way is to start from the hallway. Draw a straight line (using chalk line), which will help you to align the wood blocks during installation. You can also use a long string, which to be placed on top of the herringbone parquet.
Herringbone parquet Starting Lines
Using V-Notched trowel, spread the parquet adhesive evenly on to the area where the parquet flooring needs to be fitted. Start with small area around your guideline, as some types of adhesive would have relatively short opening time. Lay the parquet blocks on to the wet adhesive, pressing down hard enough, in order to ensure full contact with the adhesive. Make sure that no adhesive rises up between the wood blocks.
NOTE: Make sure that you do not step on the freshly laid engineered herringbone, as the wood blocks may slip and the line will no longer be straight. If the sub-floor is timber you may use small nails or pins, which will help you the wood blocks to remain in place.
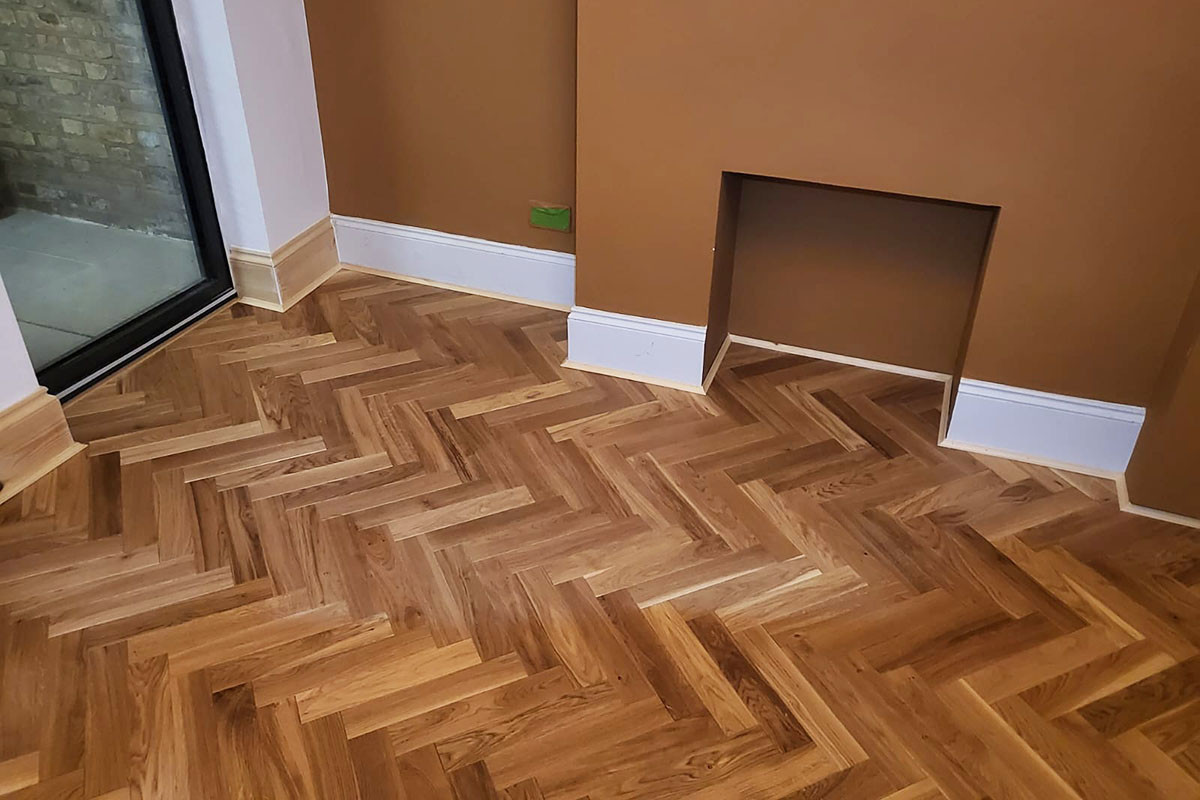
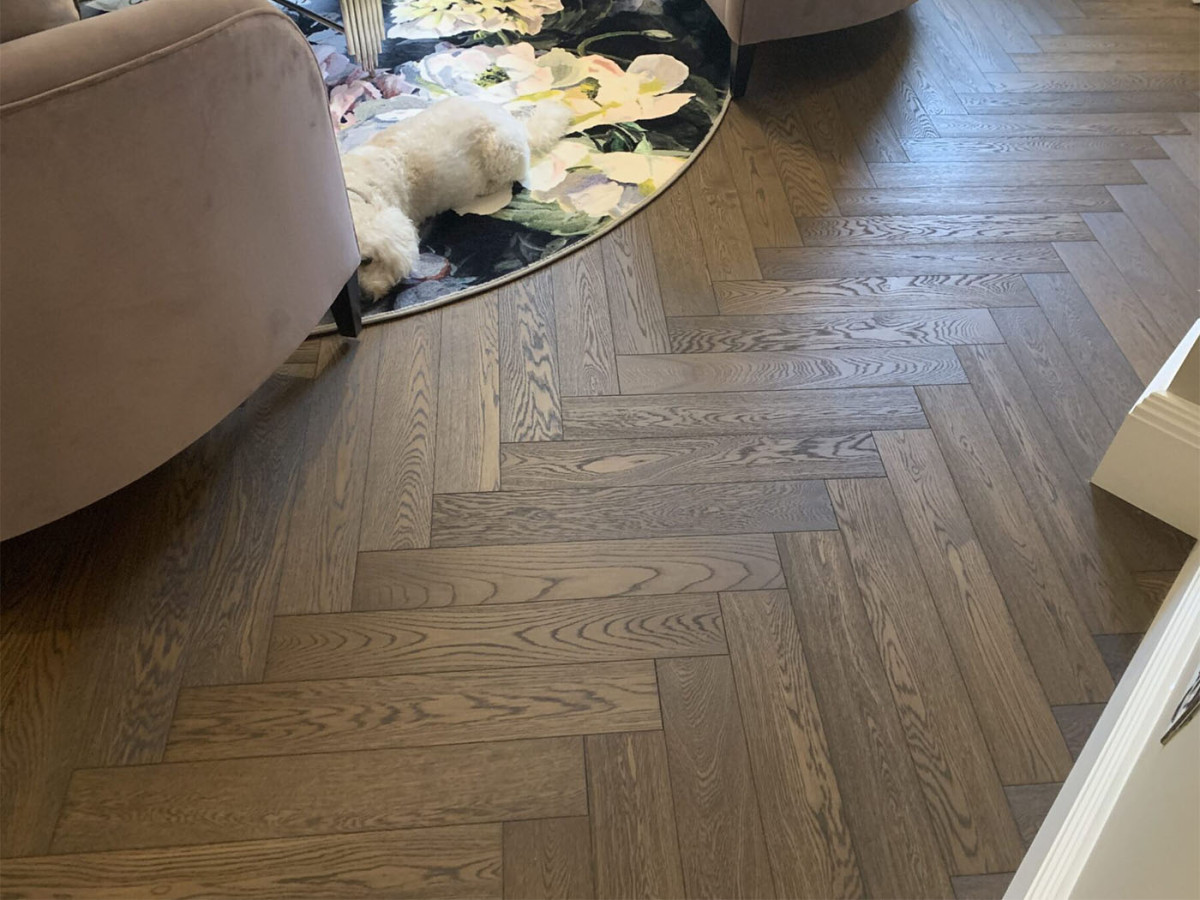
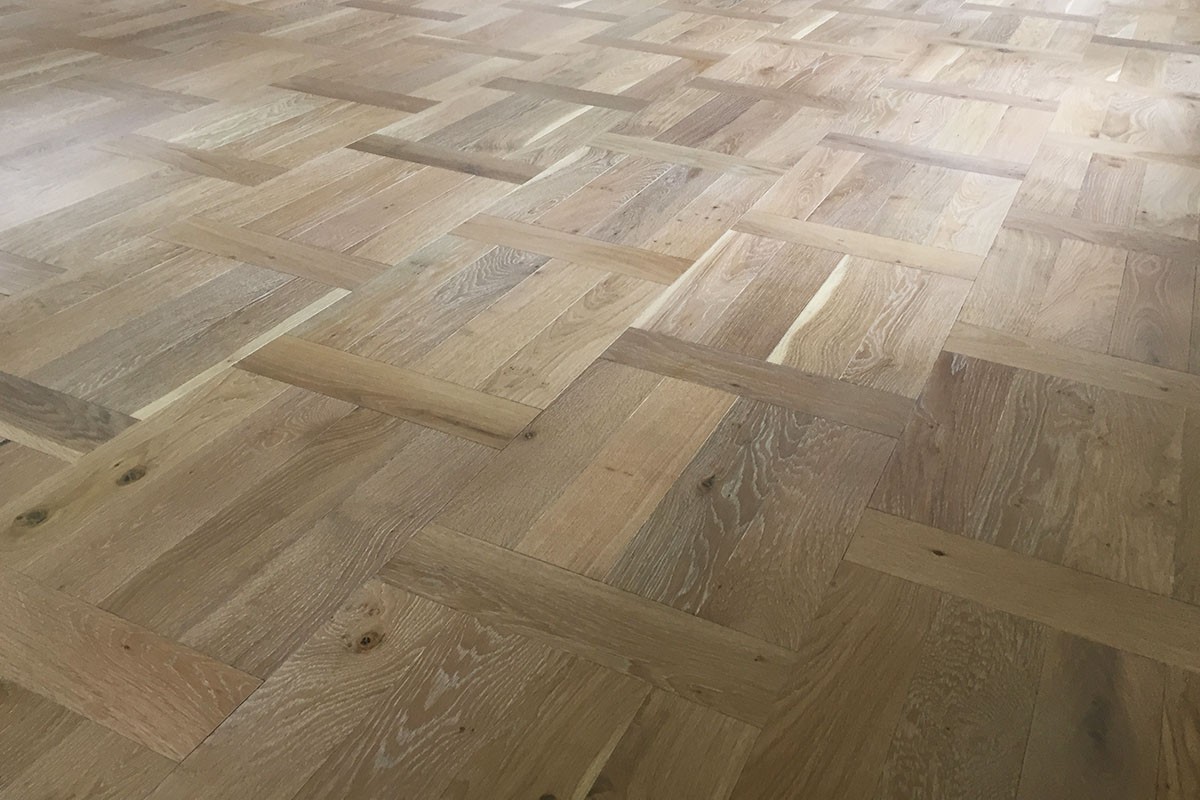
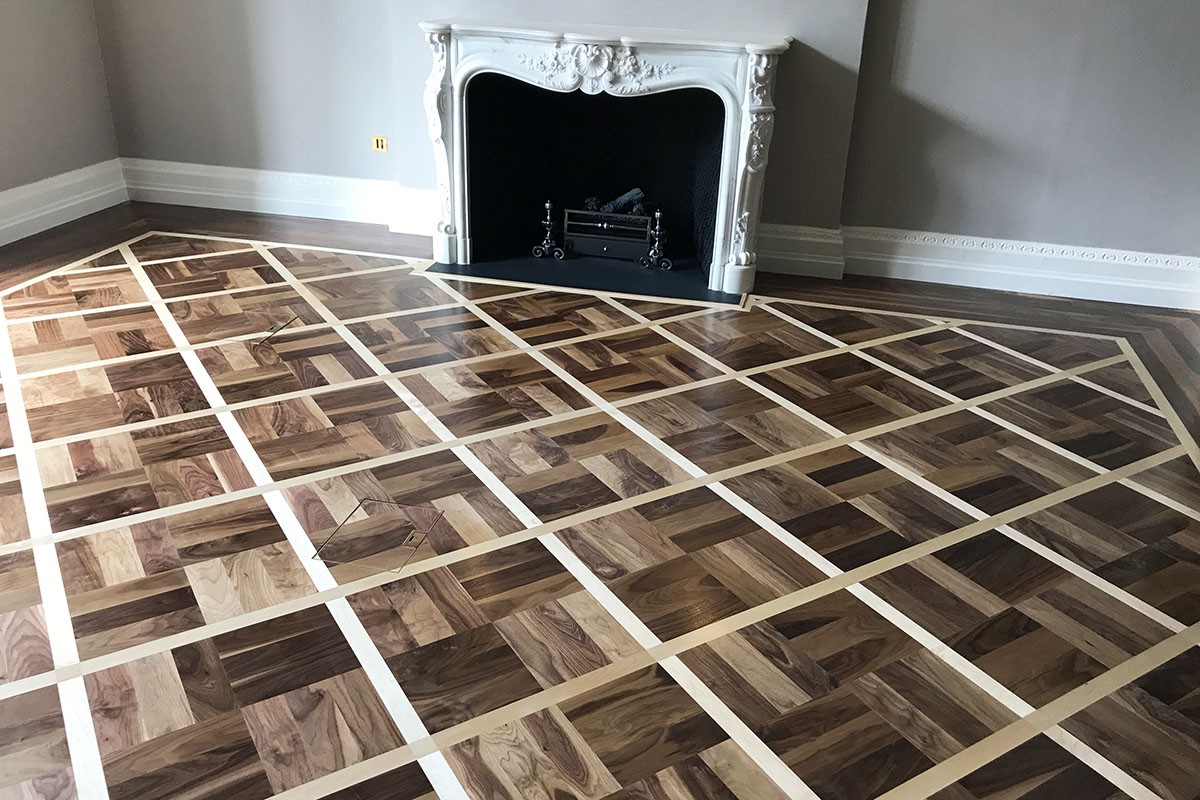
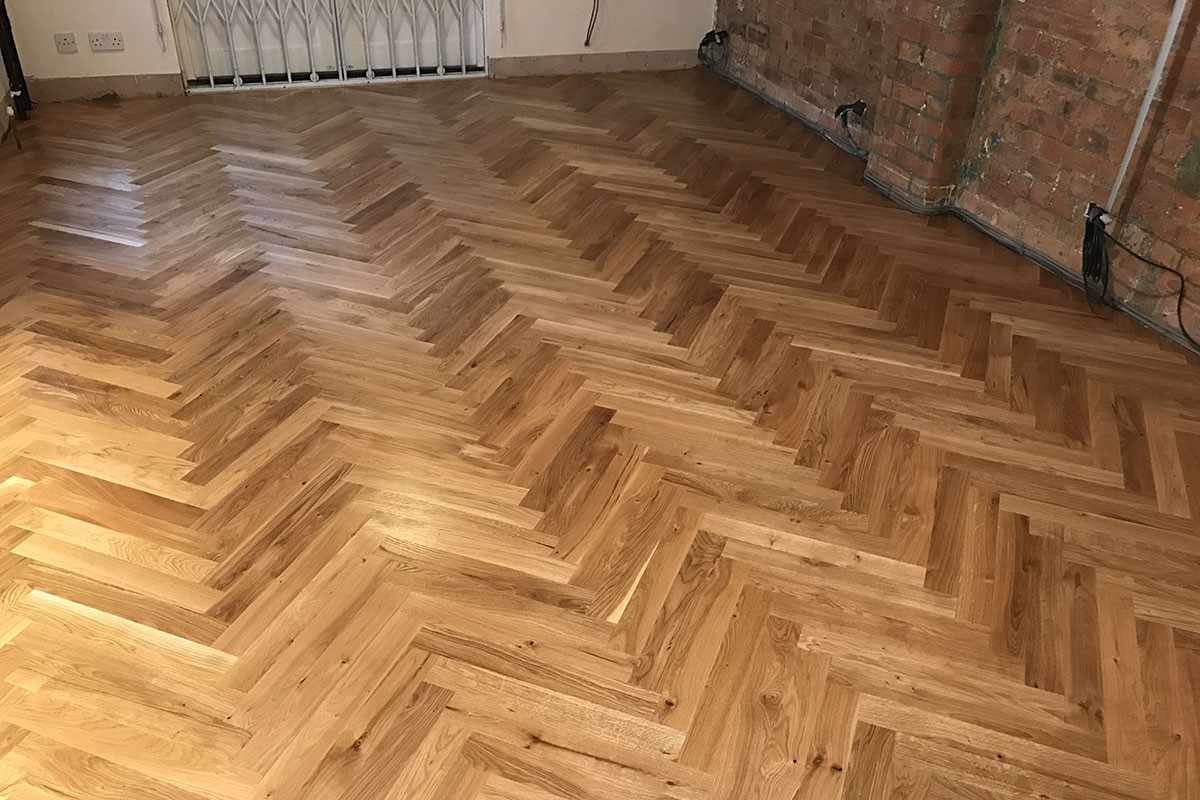
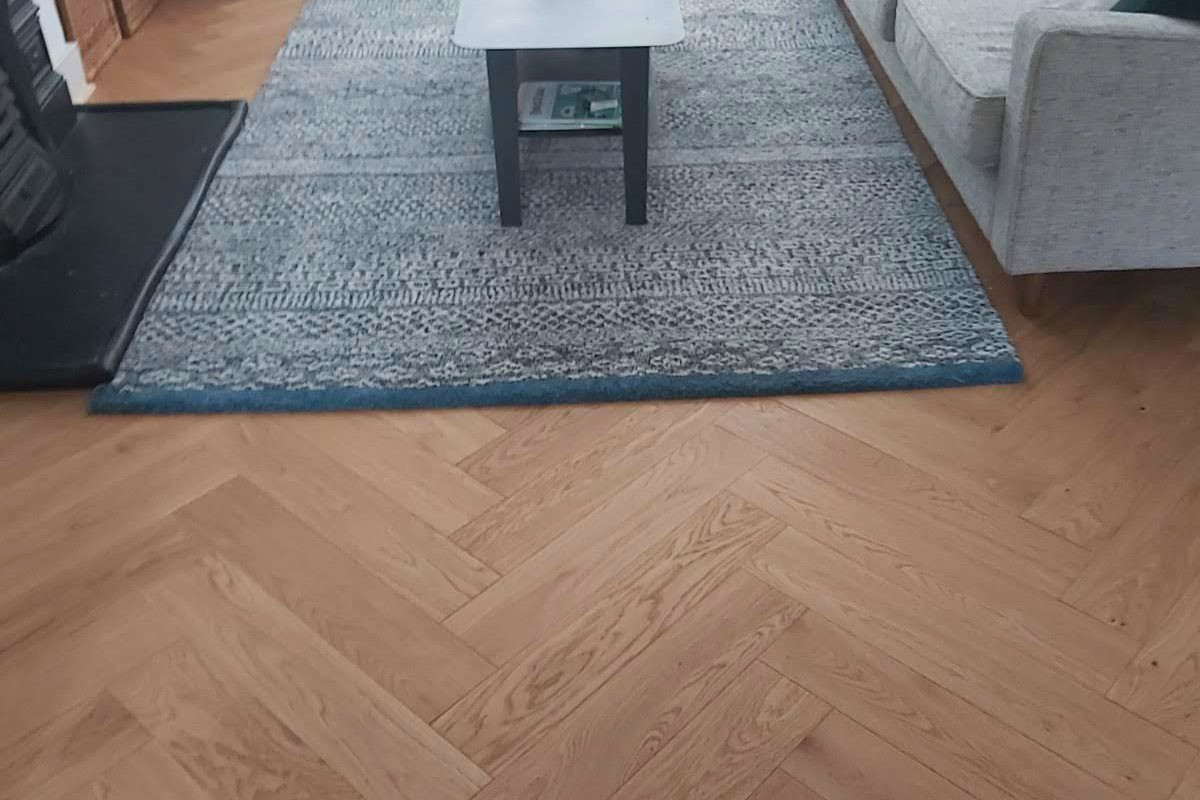
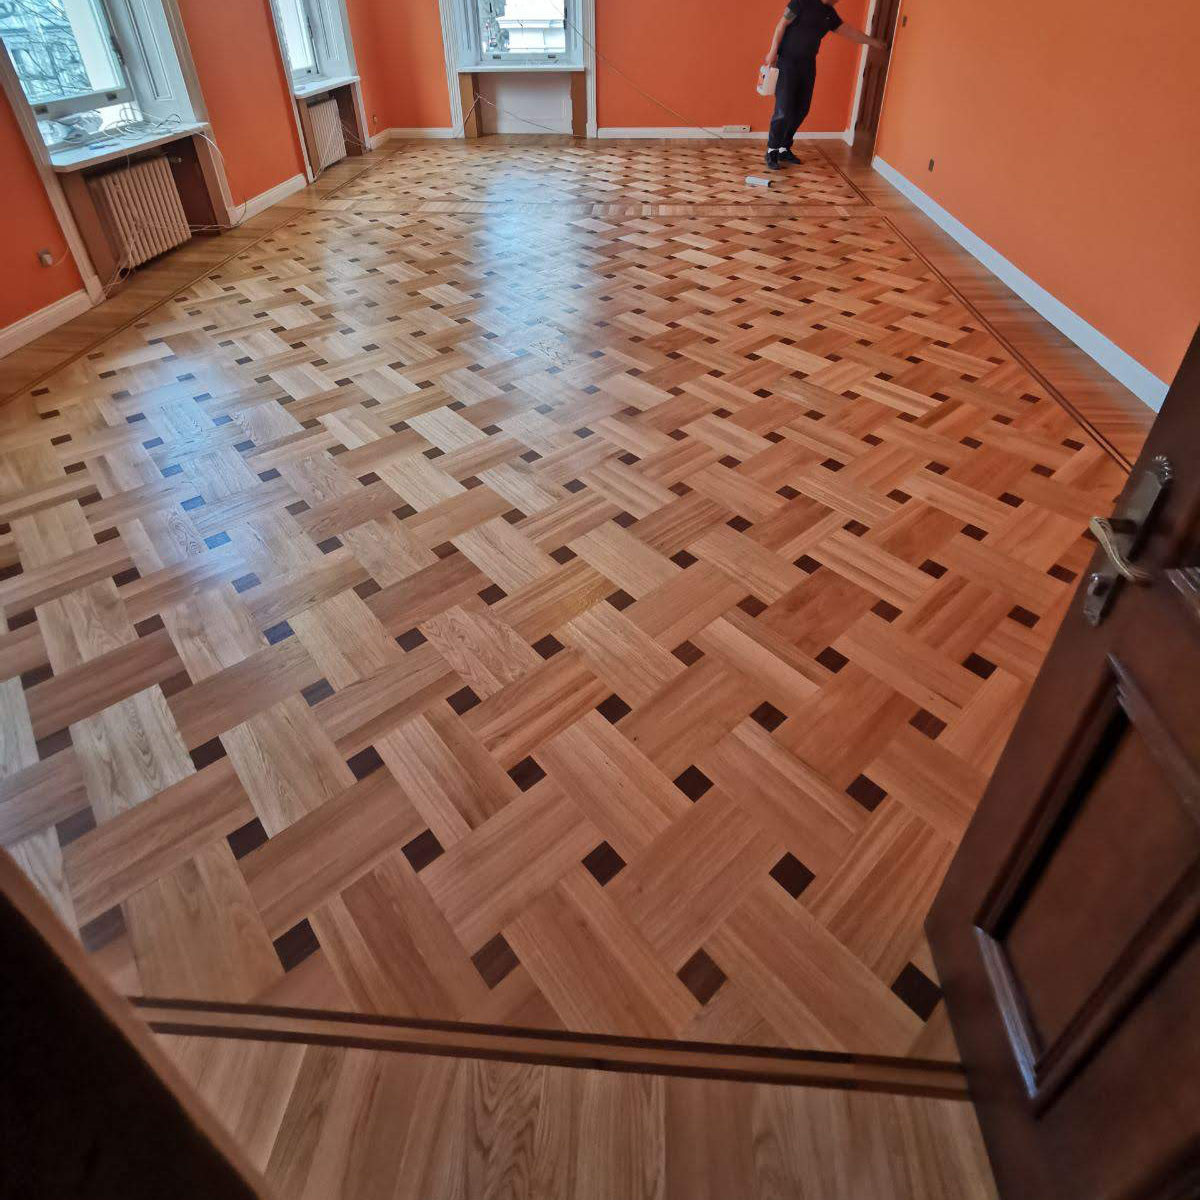
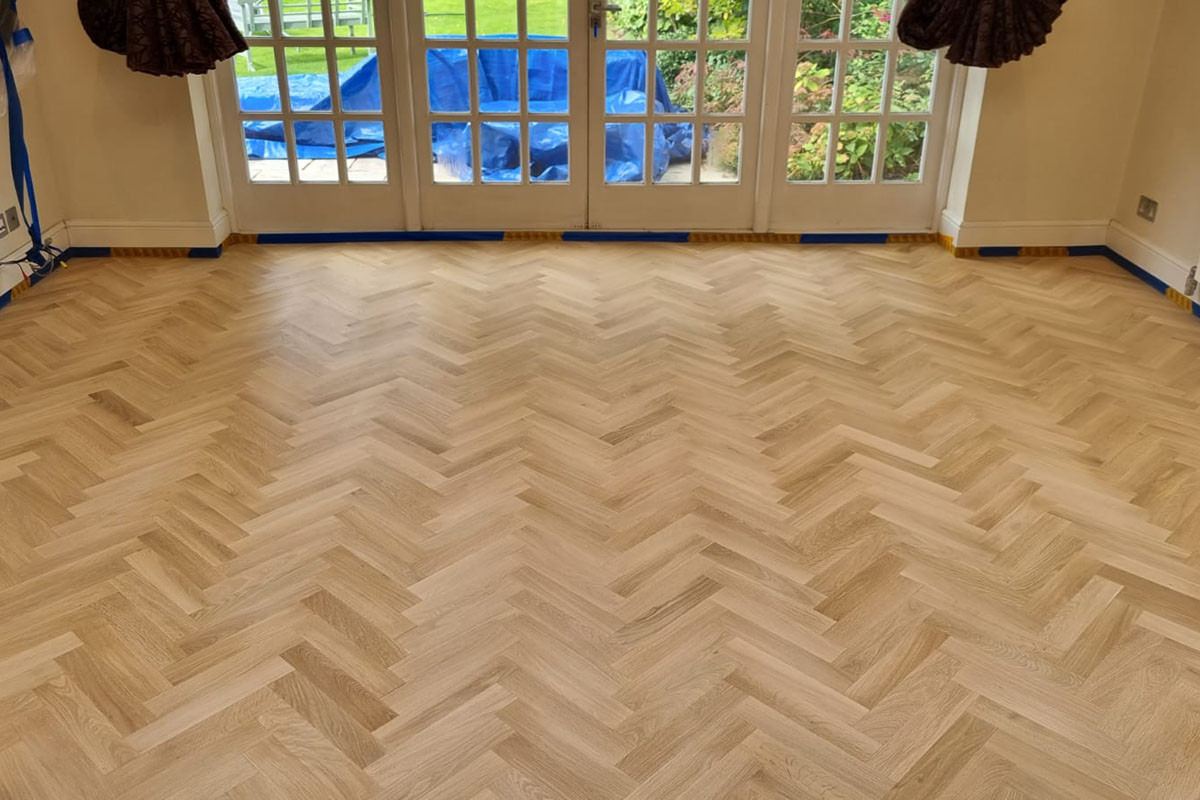
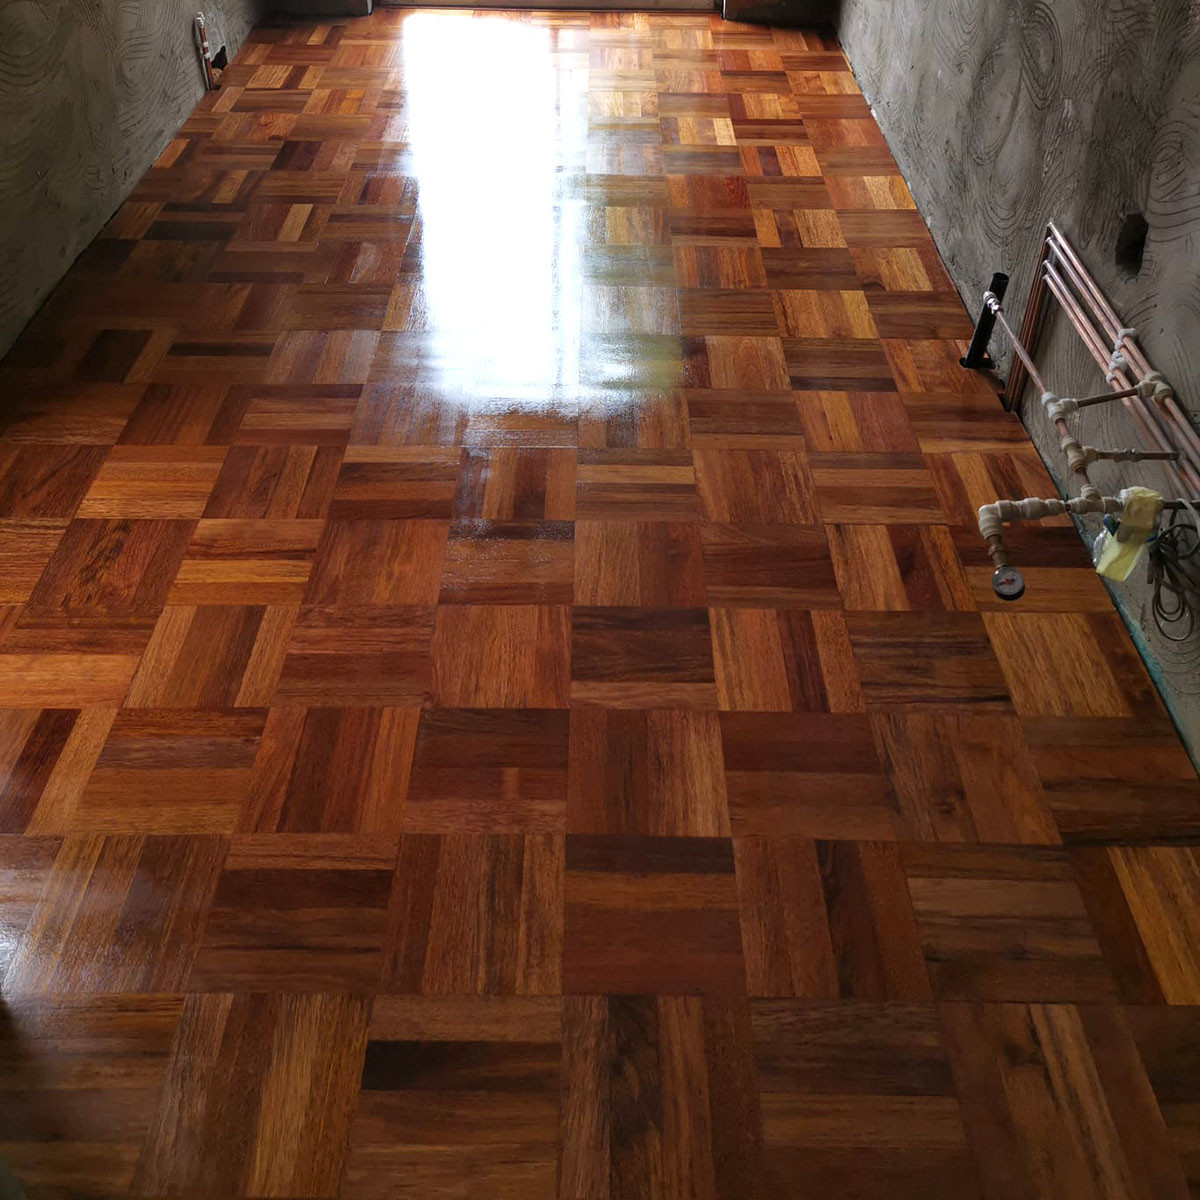
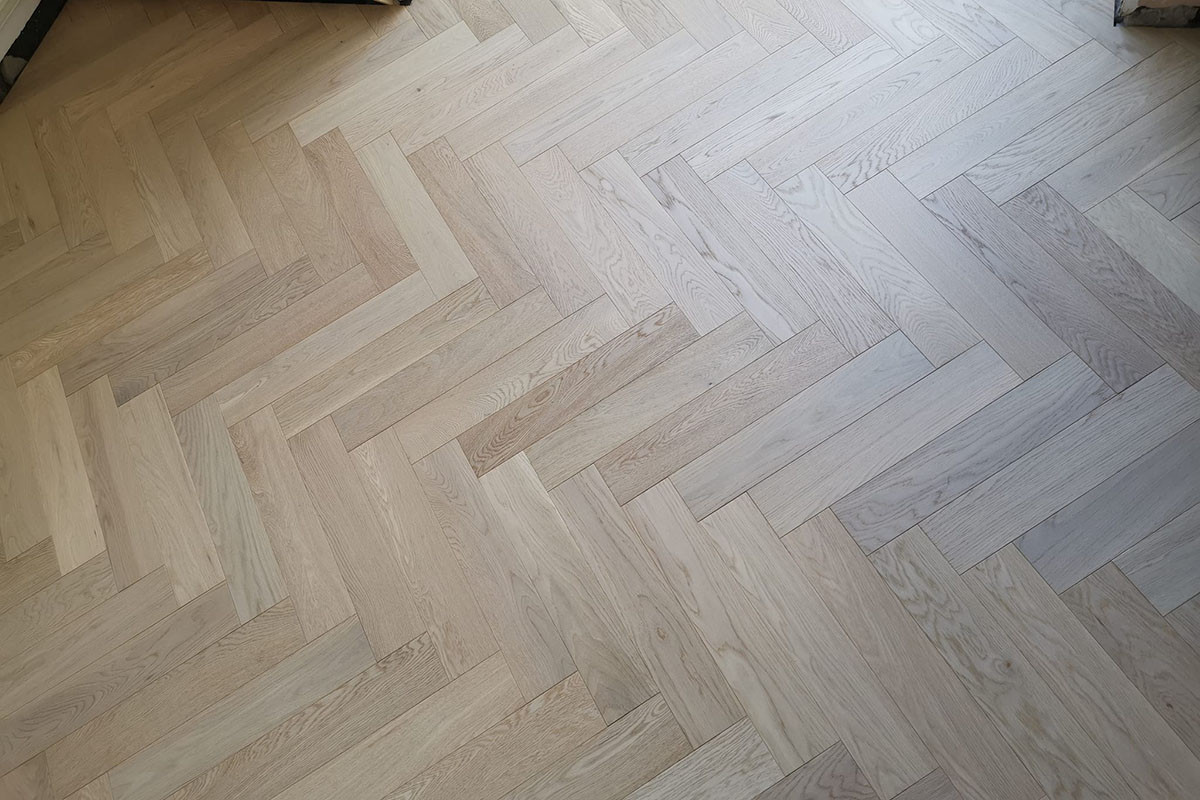
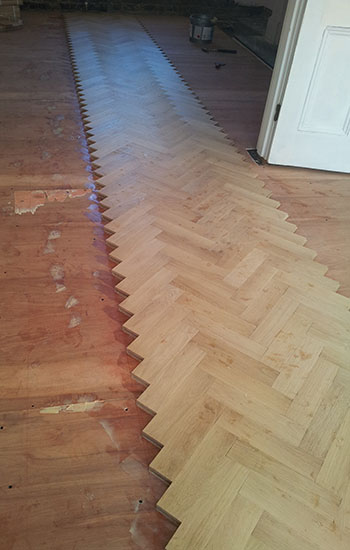
Fitting Engineered herringbone wood blocks throughout
After the first couple of lines of engineered herringbone parquet are installed, you can continue with the rest of the flooring area, following the herringbone pattern. Work slow and careful.
NOTE: Make sure that you always lay the wood blocks perpendicular to each other. If you do not pay attention to this detail, very soon the pattern will be out of line and you will notice some gaps in between the wood blocks.
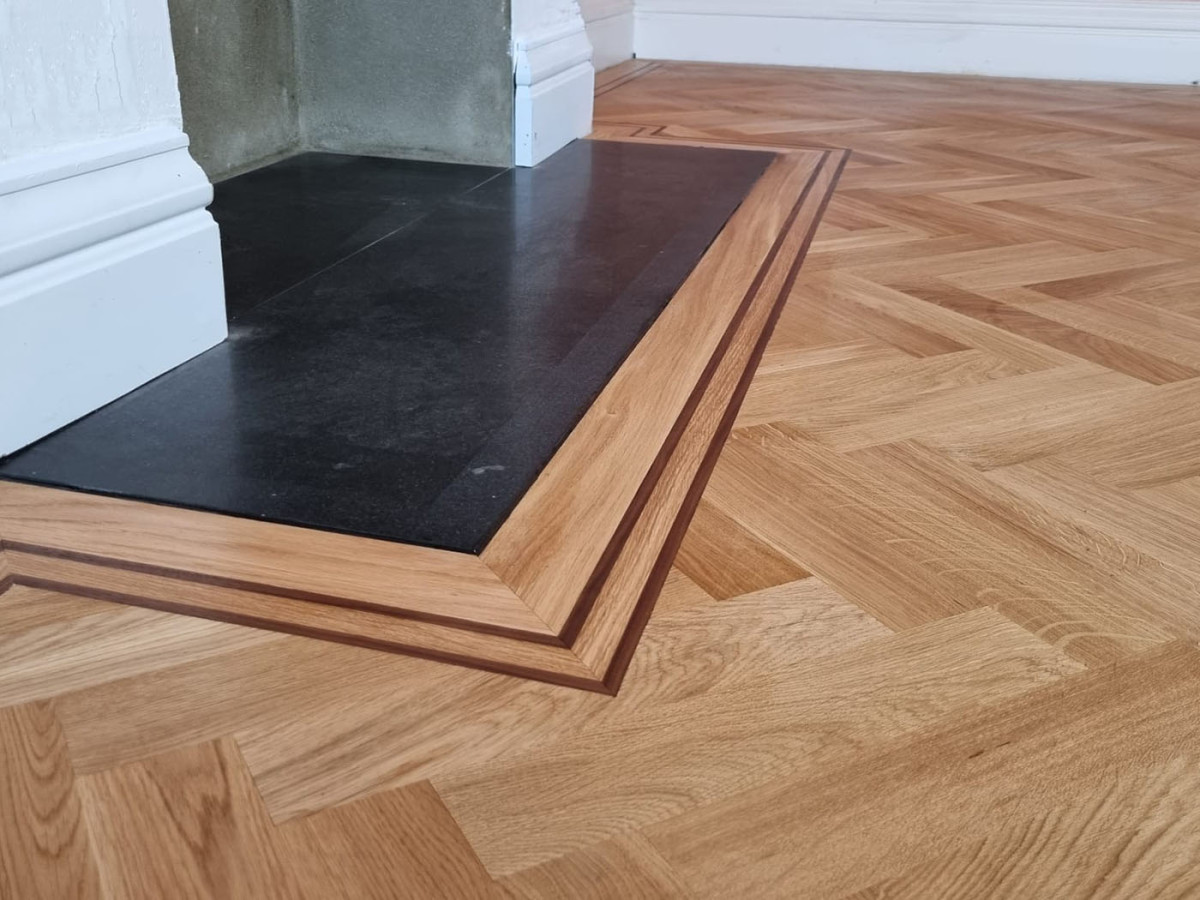
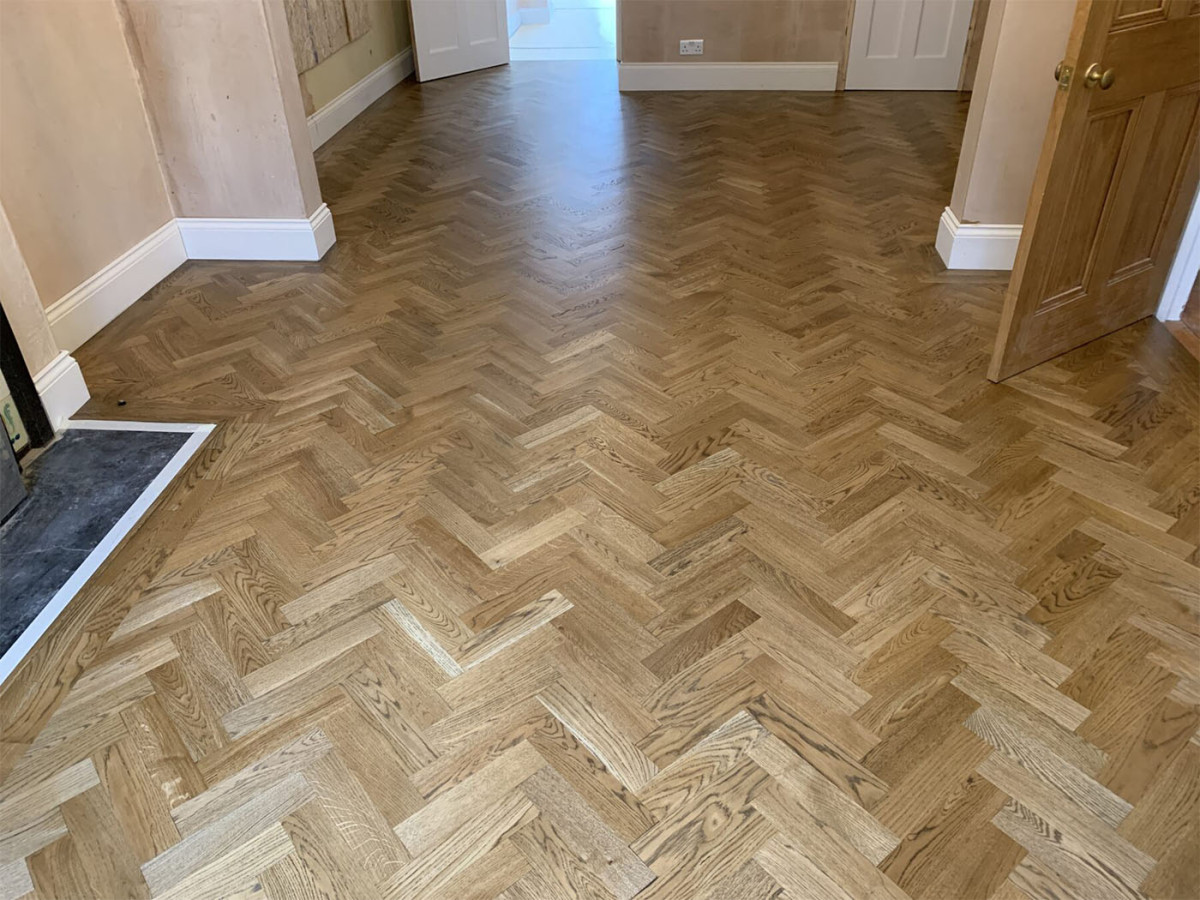
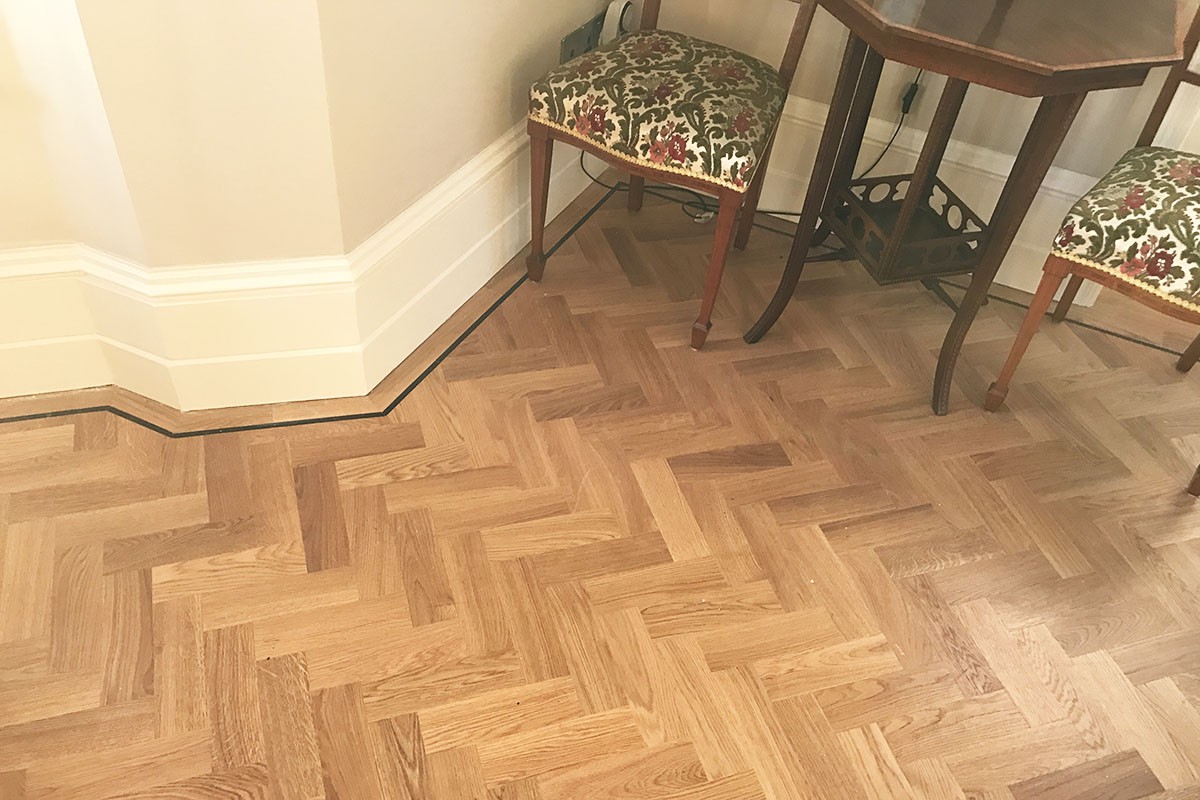
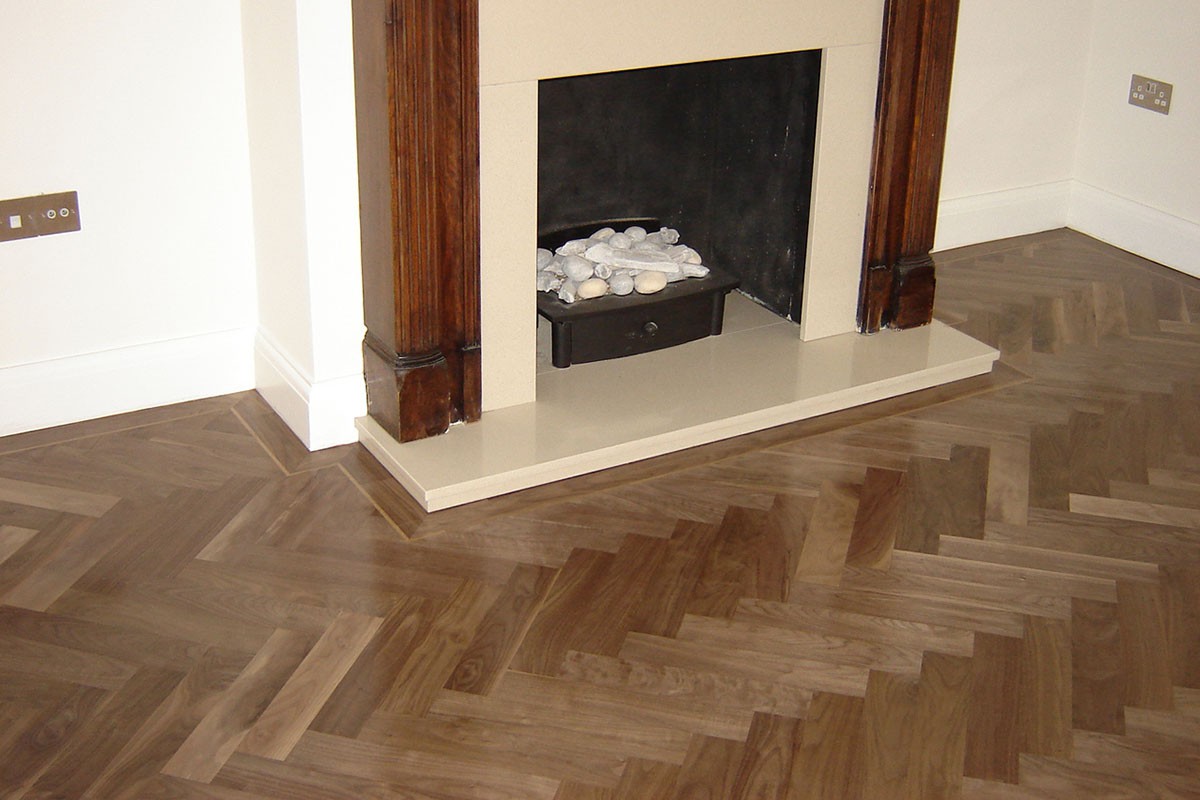
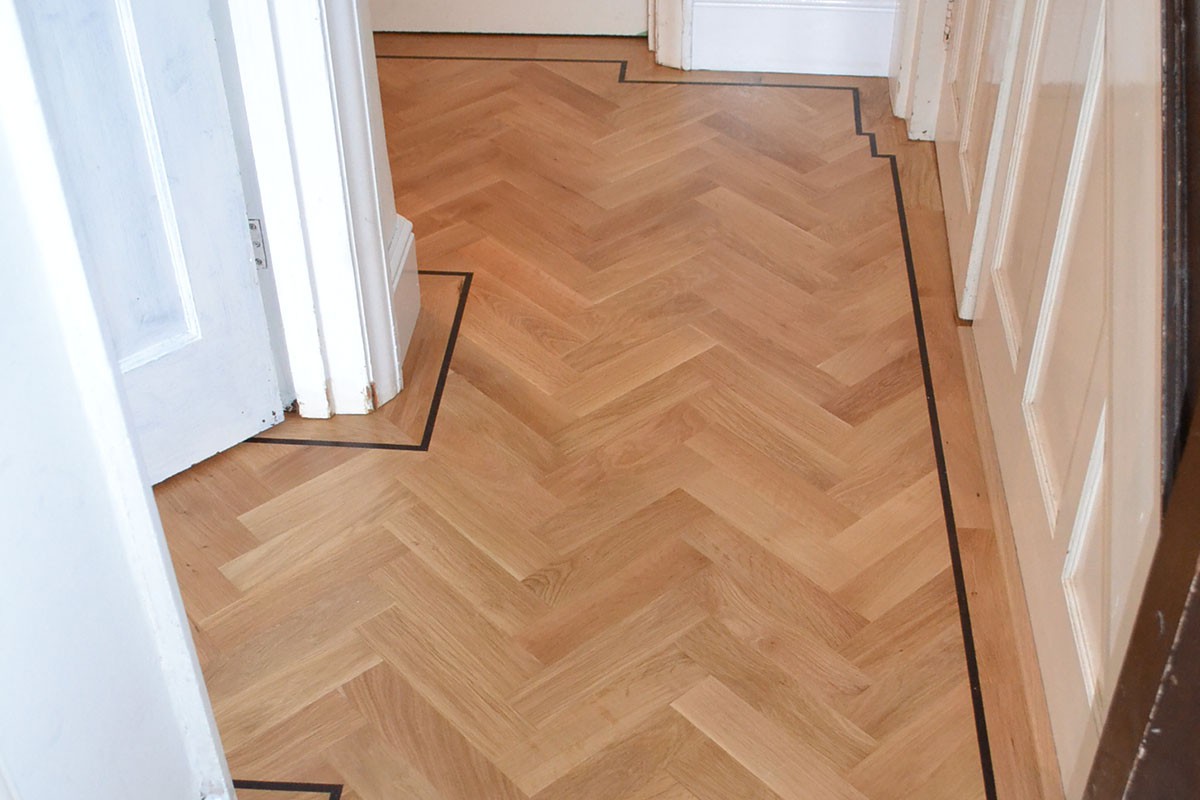
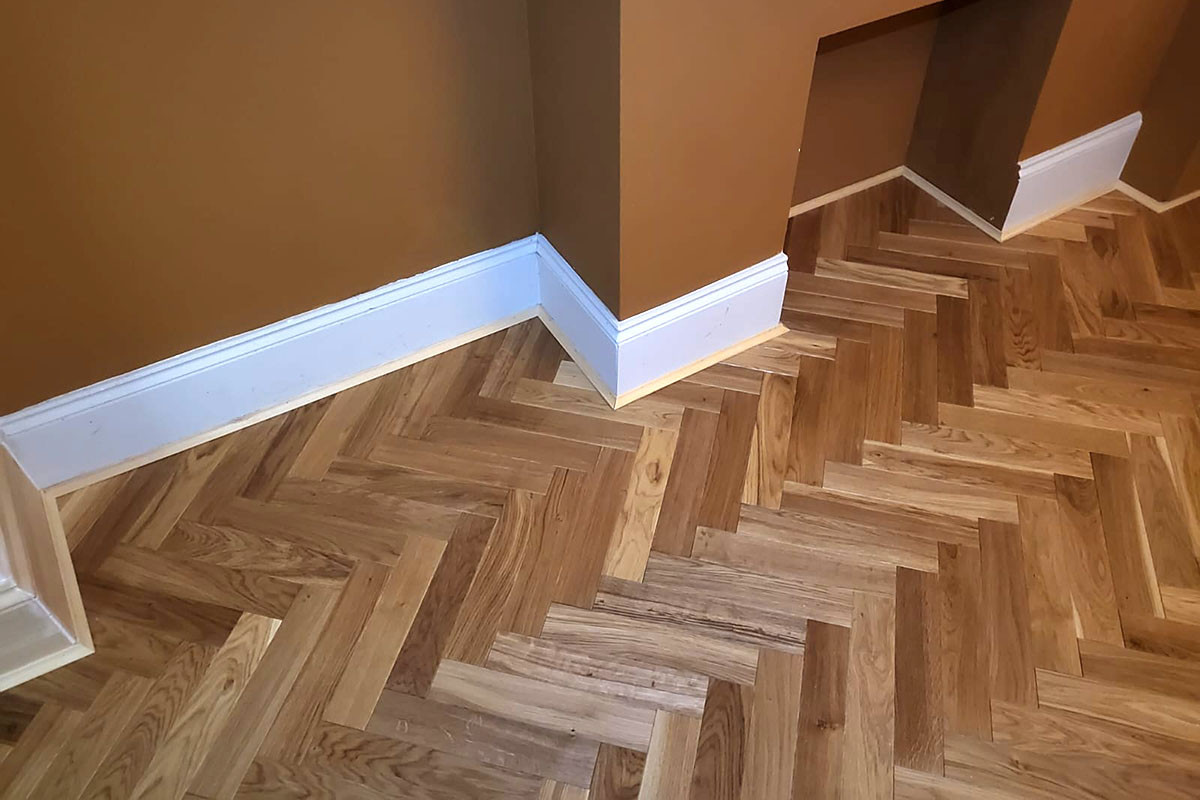
Installation around the edges.
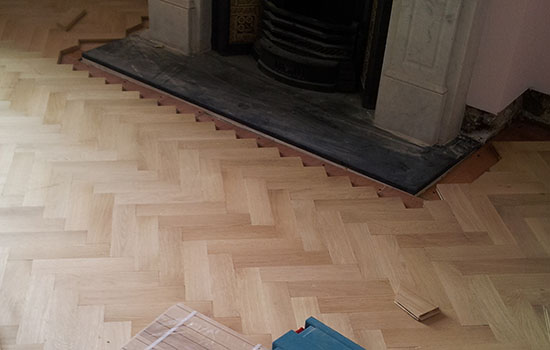 When you reach the wall, and you can not install full size wood block, you would need to cut the herringbone blocks as appropriate. You better leave this task for the end, after the majority pf the flooring is installed and the adhesive is dry.
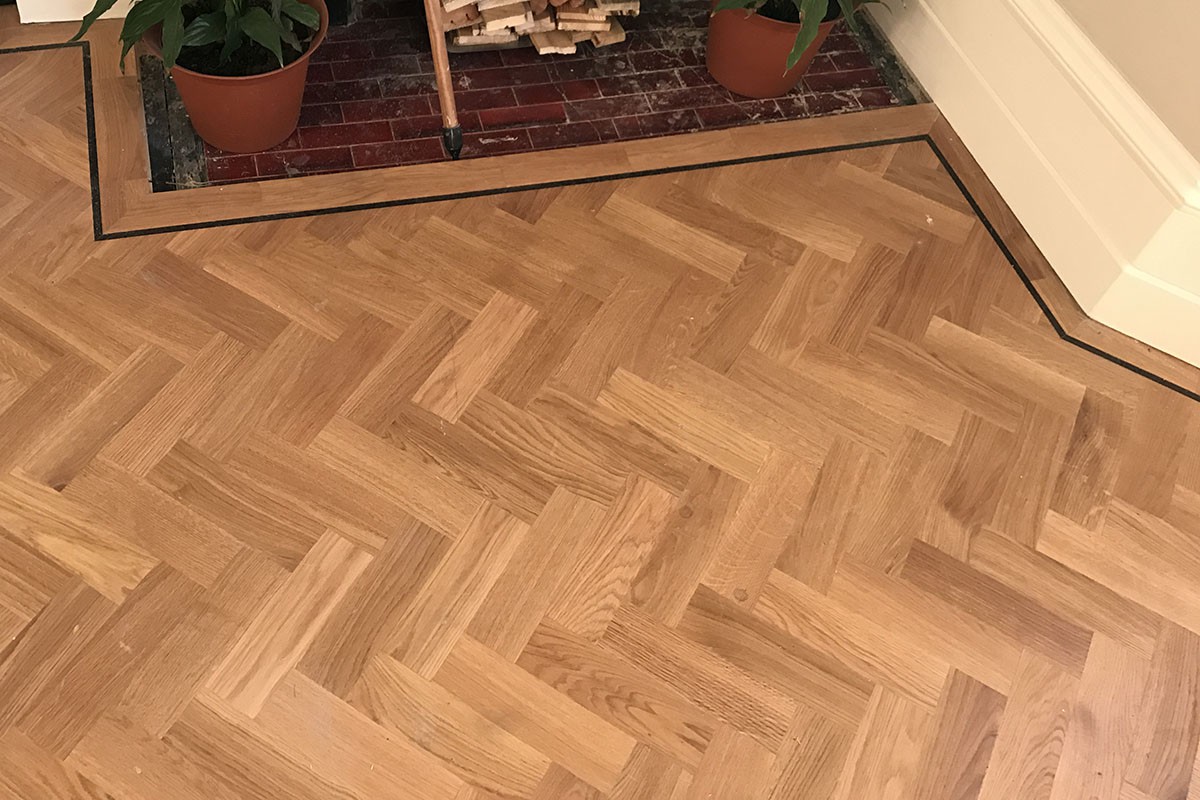
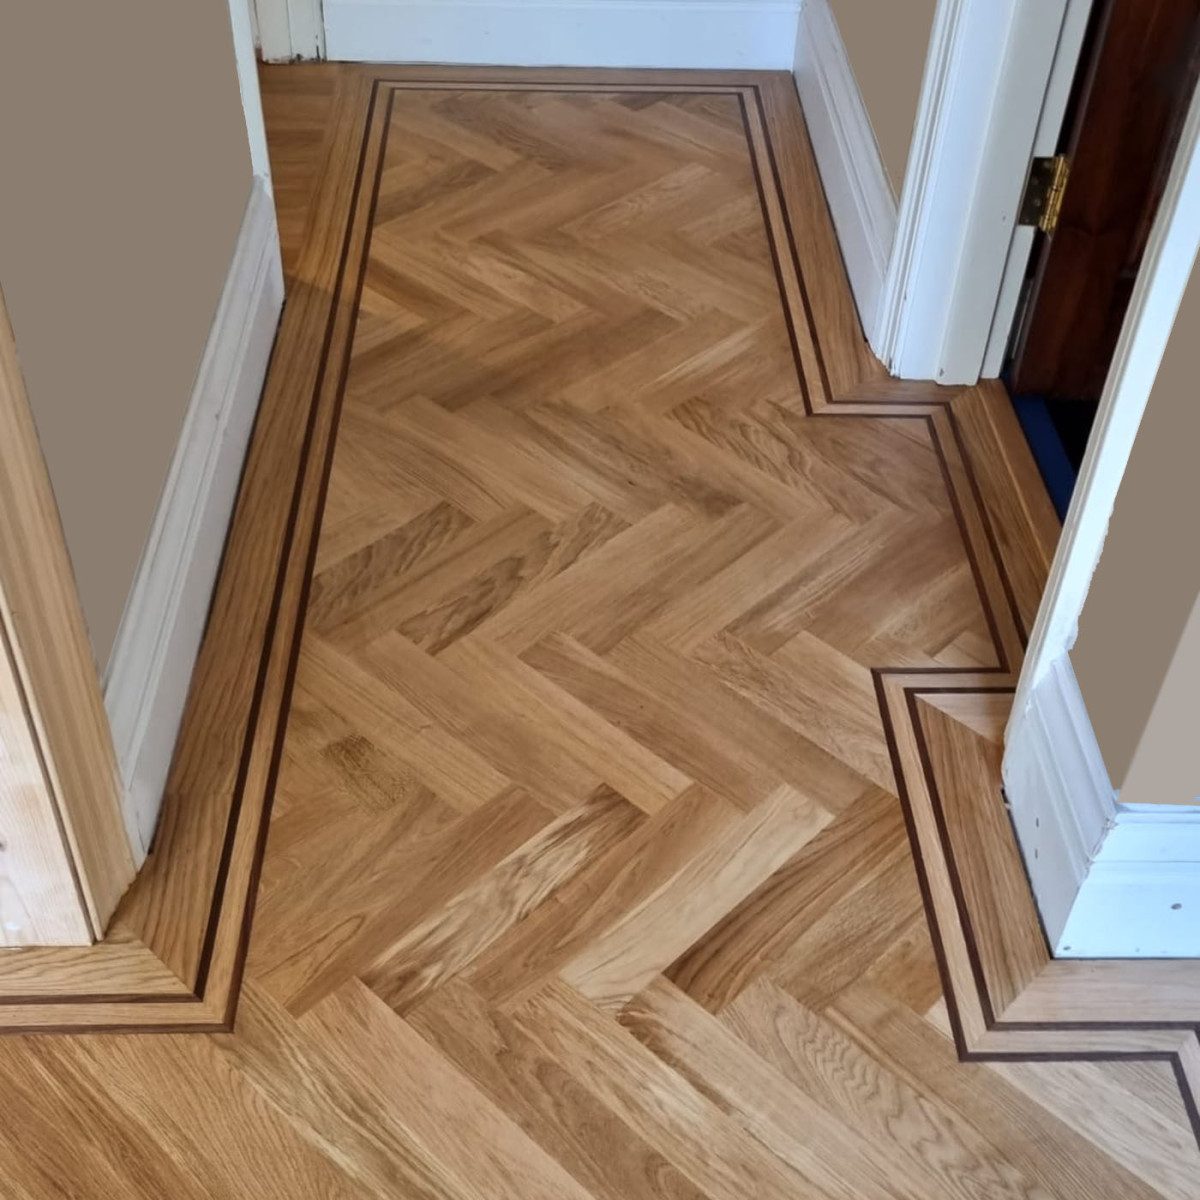
Expansion gap
Around the entire perimeter of the room/ flooring area, you would need to allow for an expansion gap of about 7-10mm. This is essential part of the herringbone parquet fitting and will guarantee the stability of the flooring in long term. This expansion gap should be covered with Skirting, Beading or trim.
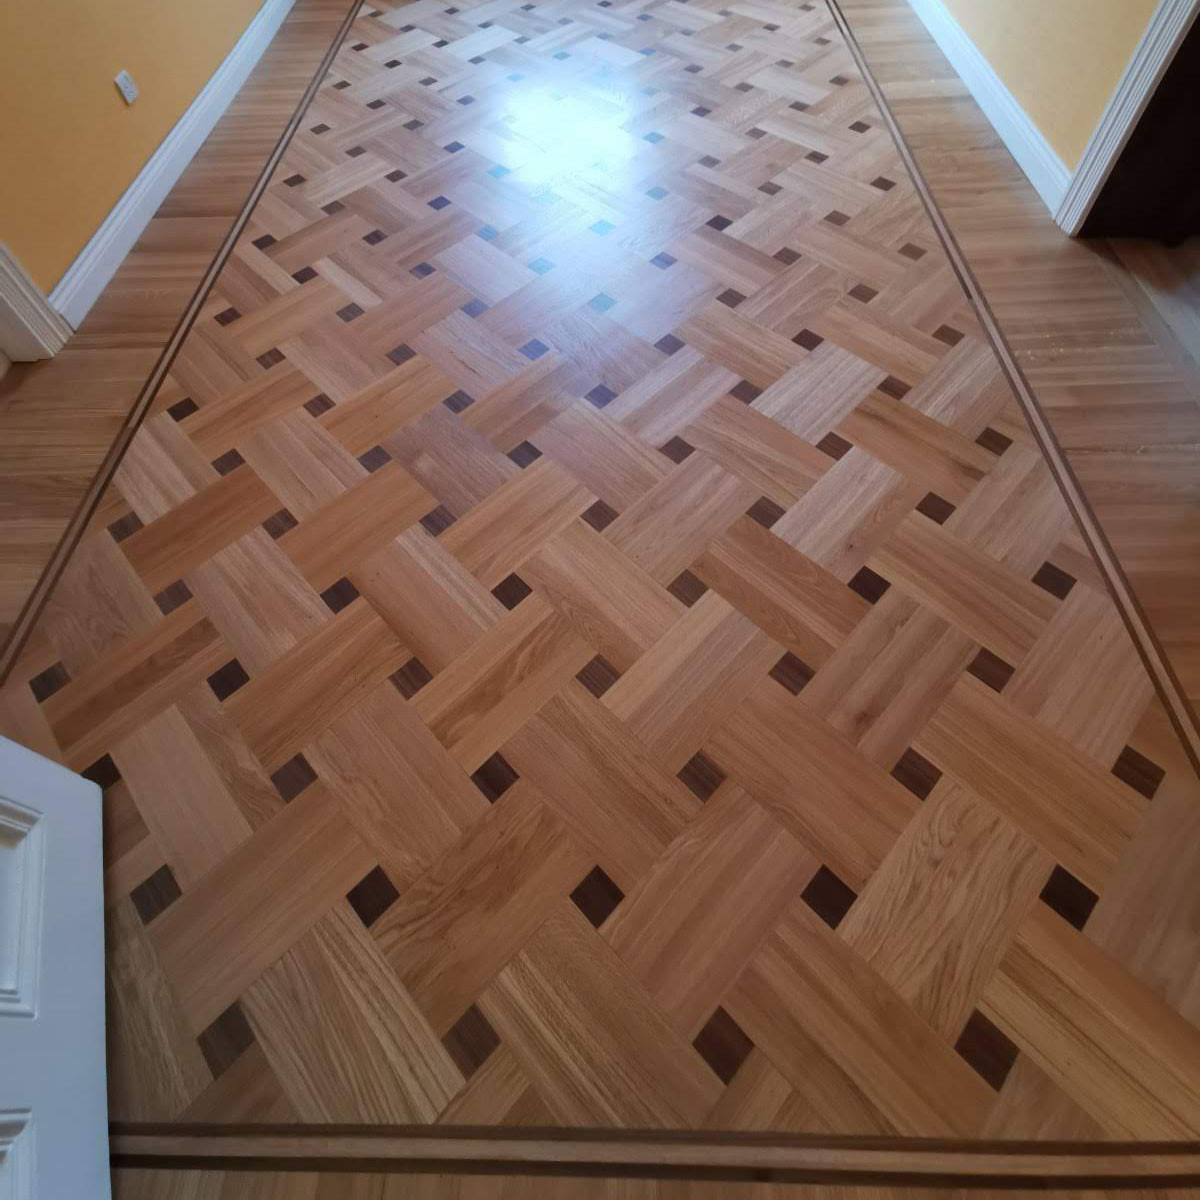
NOTE from Professionals about Fitting Engineered Herringbone
Fitting Engineered Herringbone parquet is a specialized task and in order to guarantee longevity and stability of the parquet floor, it is strongly recommended to be carried by professional and experienced herringbone layer. By Choosing experienced fitter you not only guarantee the flawless completion of your flooring project, but you can rest assured that the floor layer would pay attention to every minor detail during the herringbone fitting.
Luxury Wood Flooring is proud to be among the most prized and experienced engineered herringbone fitting companies in London. The very high volume of returned customers and recommendations are proven record of our professionalism. We are always happy to quote for supply and fitting of engineered herringbone, or where the installation will be carried by someone else, we’ll be more can also quote for supply of the flooring material only.
Find out more about our range of engineered herringbone and our promotional offer for supplying and fitting parquet flooring.
If you have any questions, looking for advise or Quote, do not hesitate to contact us.
Luxury Wood Flooring – London’s First Choice for Fitting Engineered Herringbone.